What's the goal of this feature?
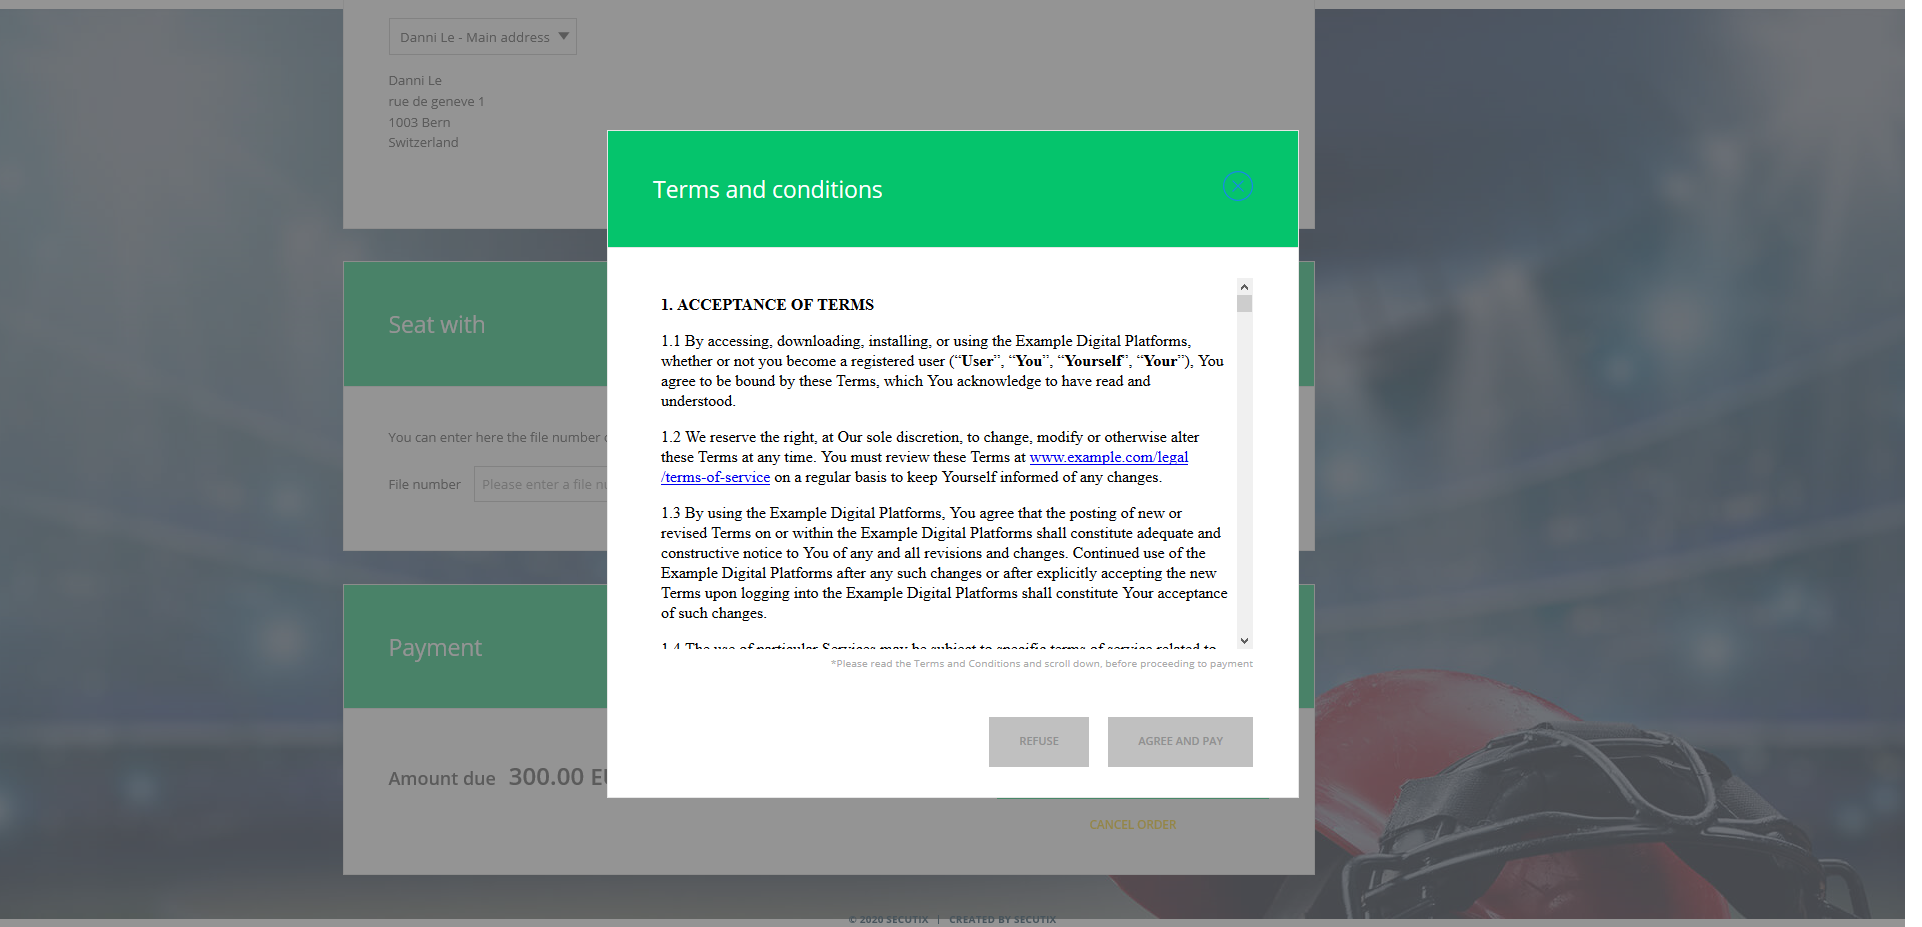
The goal of this development is to support Legal requirements. As per new EU GDPR law in 2018, any time our customers obtains consent from users (to use or store their private data), this consent must be obtained in a way that’s clear and affirmative – such as with a checked box or by clicking an agreement button. Depending on the context, it might not be sufficient to provide a linked Terms and Conditions file, with a tick-box for approval. Instead, the Terms and Conditions must be scrolled in extenso, before the acceptance button is made accessible for giving consent.
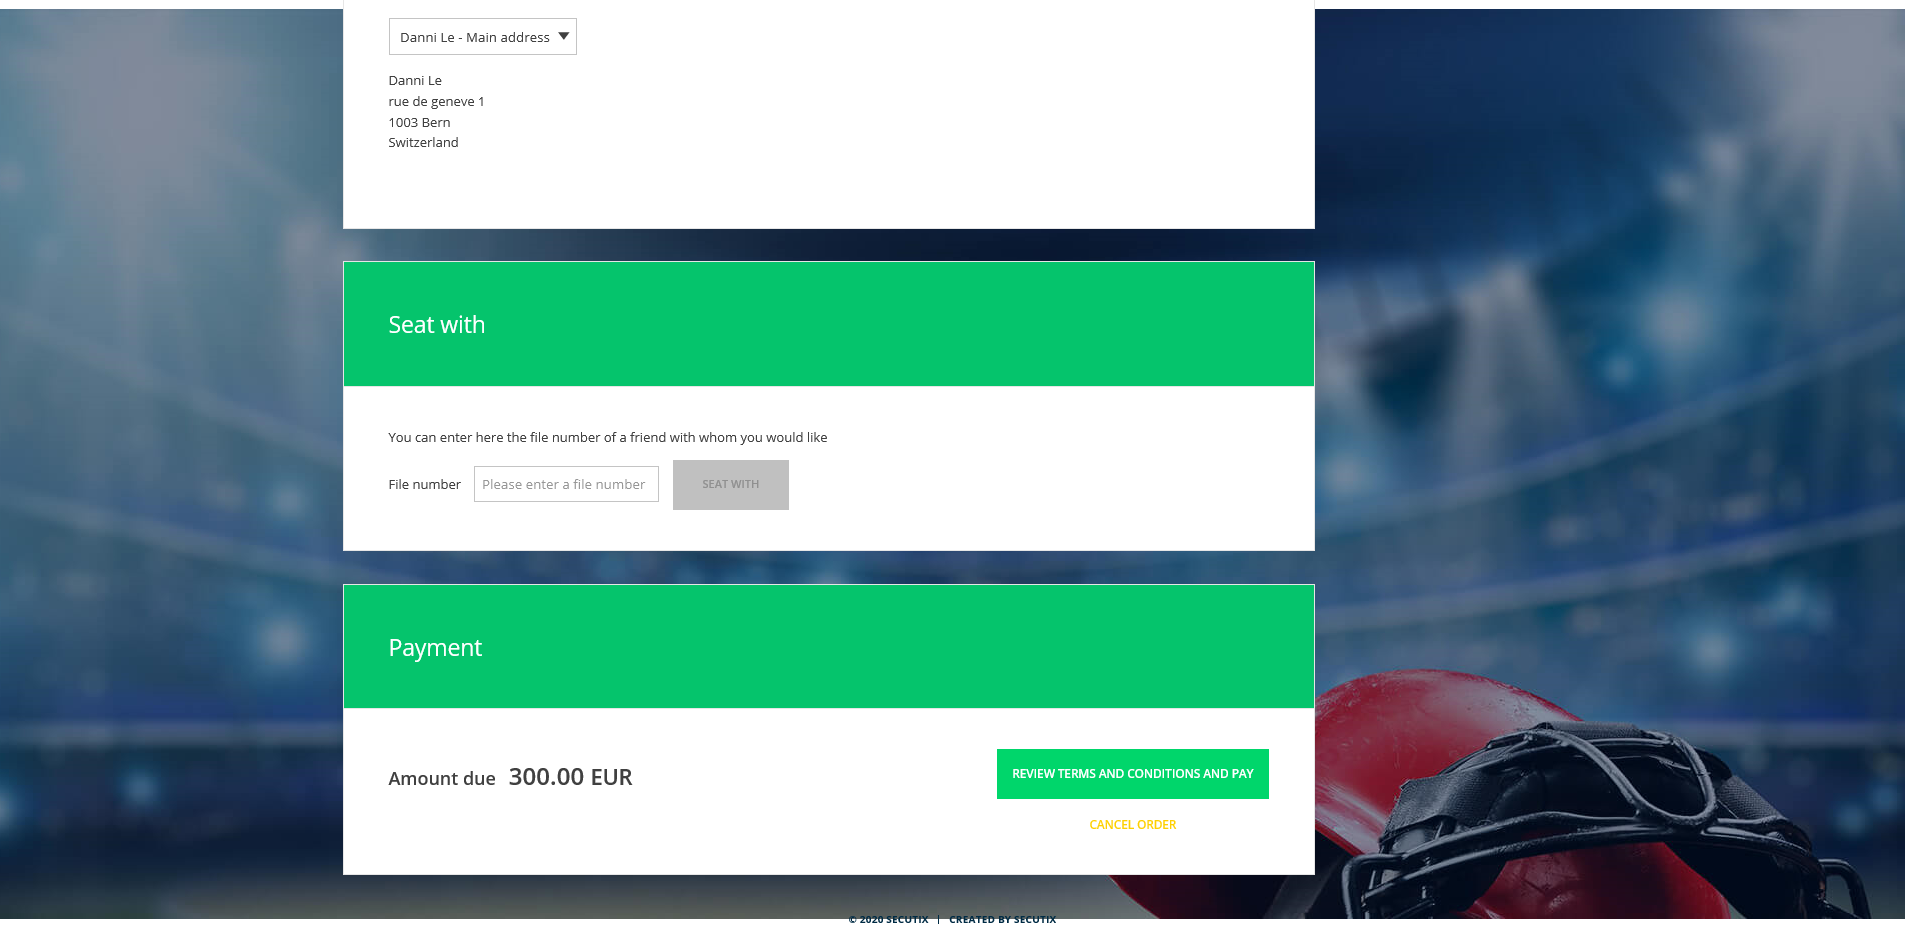
For this reason, we are adding a new pop-up with Terms and Conditions on order details page for each of the Ticket shops (including FCFS, Group Sales, SAT) and lottery to get the users to accept legal agreements with an active method.
With this development, a ticket-shop user is now able to review Terms and Conditions in a pop-up that will be displayed before proceeding to payments/submissions on the Order summary page.

How to activate this feature?
In order to activate this feature, you need to simply provide the HTML content of the T&C. Please follow the following activation strategy based on different scenarios on the customer side.
Scenario 1
If the customer has already hosted a web page showing Terms & Conditions on their institutional website, please follow the steps below to activate this feature:
- Go to the Terms & Conditions web page that customer hosts on their institutional website.
- Right click and choose "Inspect element" option
- Find the HTML block containing the Terms & Conditions, select it and copy the HTML code
- Go to any online HTML minifier tool (e.g. https://www.willpeavy.com/tools/minifier/) and paste the HTML code into the minifier text box.
- Click on the "Minify " button to generate a one-liner of the HTML content and copy the minified content
- Go to SecuTix > Organization > Sales channel > your online sales channel where you would like to activate this feature > your target POS > Internet Themes > Advanced tab
- Add a new label with key =termsAndConditionsDialog.content and value = the minified HTML content done in Step 6
- Once the new label is synchronized on your target POS, verify that the Terms & Condition popup is indeed now displaying (instead of the checkbox) as the last step on the Order Summary Page before users can continue to the Payment page.
Scenario 2
If the customer has only a PDF file with Terms & Conditions or has a complex web page, where the HTML code for the Terms & Conditions content is hard to extract. Please request a service to our service team to construct the HTML content for the customer.