Context
SSL Certificates on webshops have been managed manually until now. This process is not error proof and can lead to incidents when certificates are not renewed in time.
A new process for automating this management and providing a dashboard has been devised. It is explained here.
SSL files manual upload
A .key file typically contains the private key for an SSL/TLS certificate. To set up SSL certificate configuration using a .key file, you'll need to combine it with the corresponding certificate file (often in .crt or .pem format) and, optionally, any intermediate certificate authority (CA) certificates. Here are the general steps to set up SSL certificate configuration using a .key file:
1. Gather Your SSL Certificate Files:
- .key file: This contains the private key.
- .crt or .pem file: This contains the SSL/TLS certificate.
- Intermediate CA certificates (if applicable): You may have intermediate CA certificates that form the chain of trust to a root CA.
2. Combine Files (if needed):
If your certificate and intermediate certificates are in separate files, you may need to combine them into a single file. Typically, the order should be:
- Private Key (.key)
- Certificate (.crt or .pem)
- Intermediate CA certificates (if applicable), in order from the server certificate to the root CA certificate.
You can combine these files using a text editor or command-line tools like `cat` in Unix/Linux systems:
cat domain.key domain.crt intermediate.crt > combined.pem
Remember to keep your private key secure, as it is critical for the security of your SSL/TLS certificate.
3. Configure Your Server:
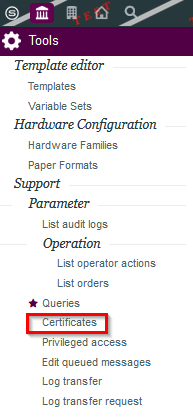
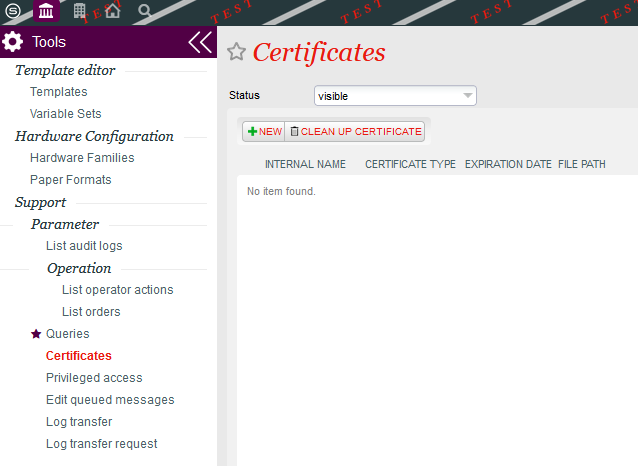
Open the Certificate management part in the Back Office (Institution / Tools / Certificates)
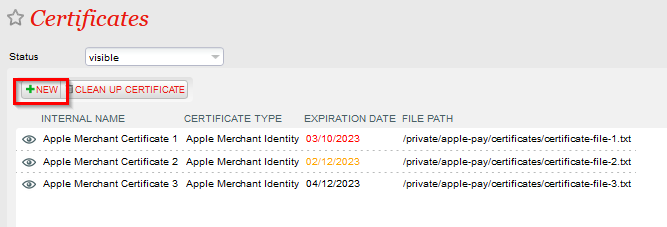
Create a new certificate
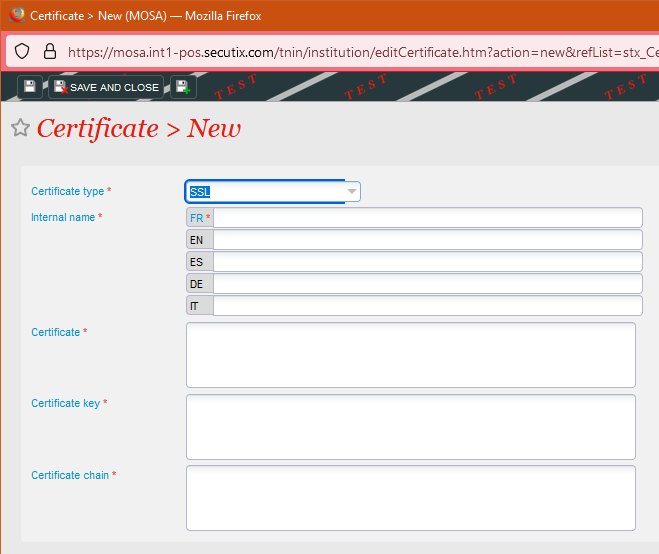
Select "SSL" Certificate type
Insert the SSL Certificate files in the entry form
- Server Certificate (.pem or .crt) → Certificate
- Private Key (.key) → Certificate Key
- Intermediate CA Certificate (if applicable) → Certificate chain
When uploading the new certificate the expiration date is parsed from SSL certificate. If retrieval is not possible an expiration date is asked for.
The whole process is explained in the video below

SSL Certificate enabling on a Sales Channel
Open the Point of Sales interface, select a Sales Channel and select "SSL Management"
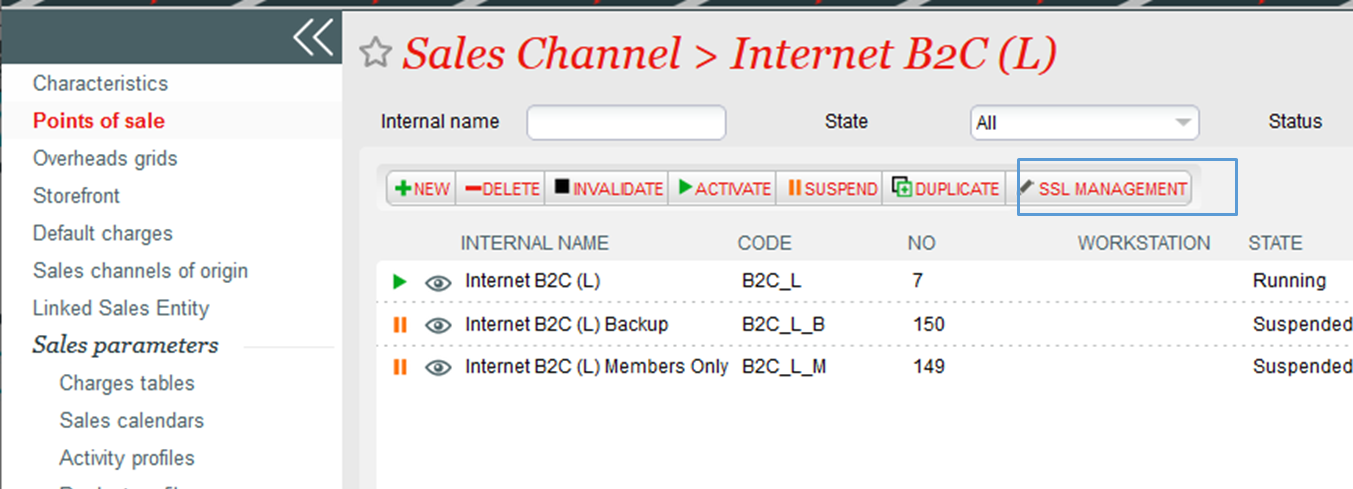
Select one of two choices:
- Manage by Secutix : a Let's Encrypt certificate is automatically created, uploaded and used for this sales channel
- Uploaded certificate : a previously uploaded certificate is used for this sales channel

SSL Certificates management
Certificates can be managed directly in the certificates window where expiration dates are displayed.
- Certificate entity are stored with expiration date and type (SSL certificate, Apple Pay certificate, Apple Pay Identity proof)
- List of certificates with warning and end of validity
- Alerts on backoffice screens when certificate is expired
Alerts are also displayed on the back office when a certificate is expired

Certificates creation for Apple Pay
In case you need to create a SSL certificate for Apple Pay first, please follow this additional process
Open the Certificate section on the back office
Get an Apple merchant certificate
Get an Apple merchant certificate from Apple
Click on "New" and "Apple Merchant identity" and store the certificate there

This will store the merchant certificate on the /wellknown path for Apple to see. Apple will provide you a SSL certificate in return