...
To implement such a process, the first step is to create, in Institution | Initialisation | Contingents, a contingent of type = “Target group”, as below. A “Target group” is the top of a hierarchy of smaller “Sub-target groups”, which will be associated later with sales quotas for every match.
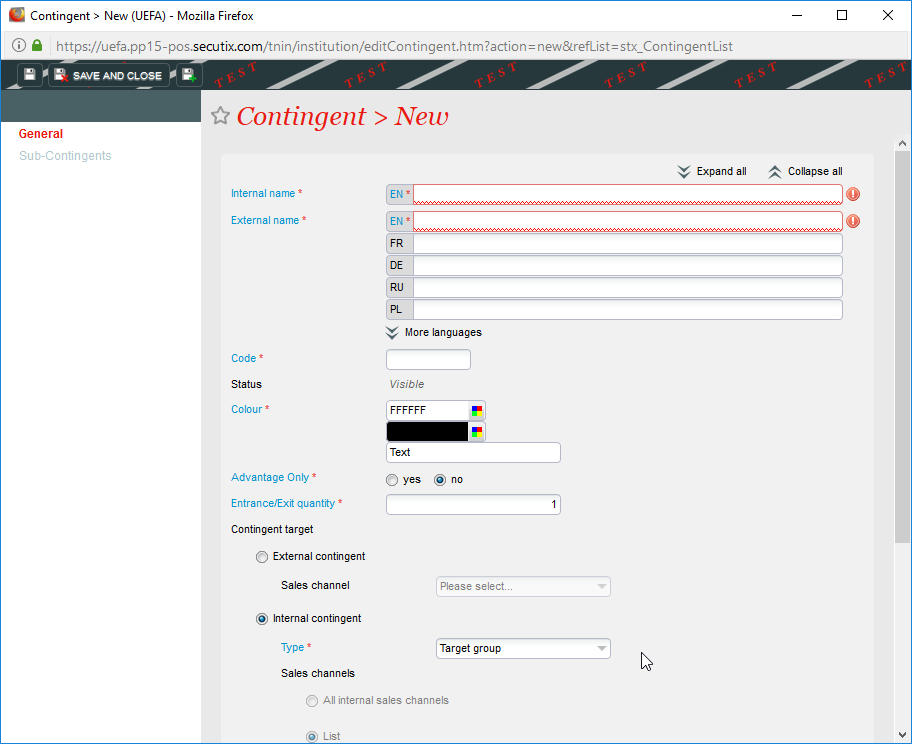
There can be several target groups created, each corresponding to a broad set of customers, such as “General public”, “Commercial partners”, “VIPs”, etc…
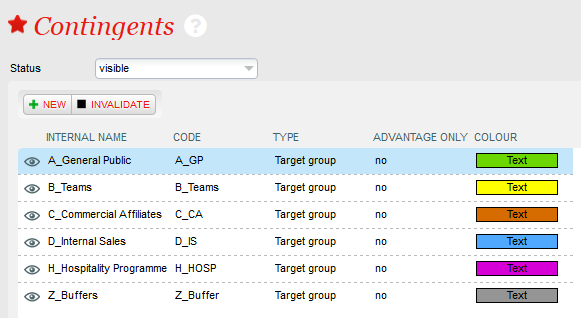
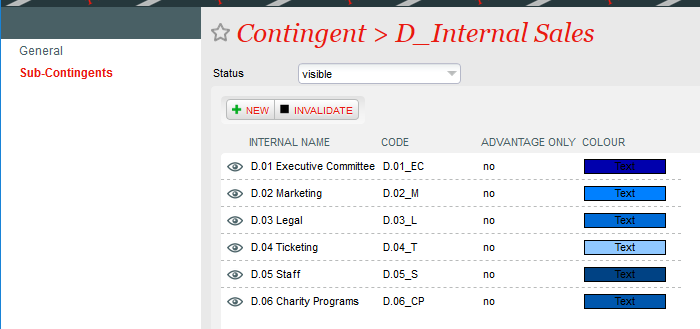
Once the “Target group“ is created, a set of sub-contingents, also known as sub-target groups, should be created inside the target group. The sub-contingents created should cover all possible use cases, even if there won’t be any quotas for them on some events.
2. Logical configurations
...
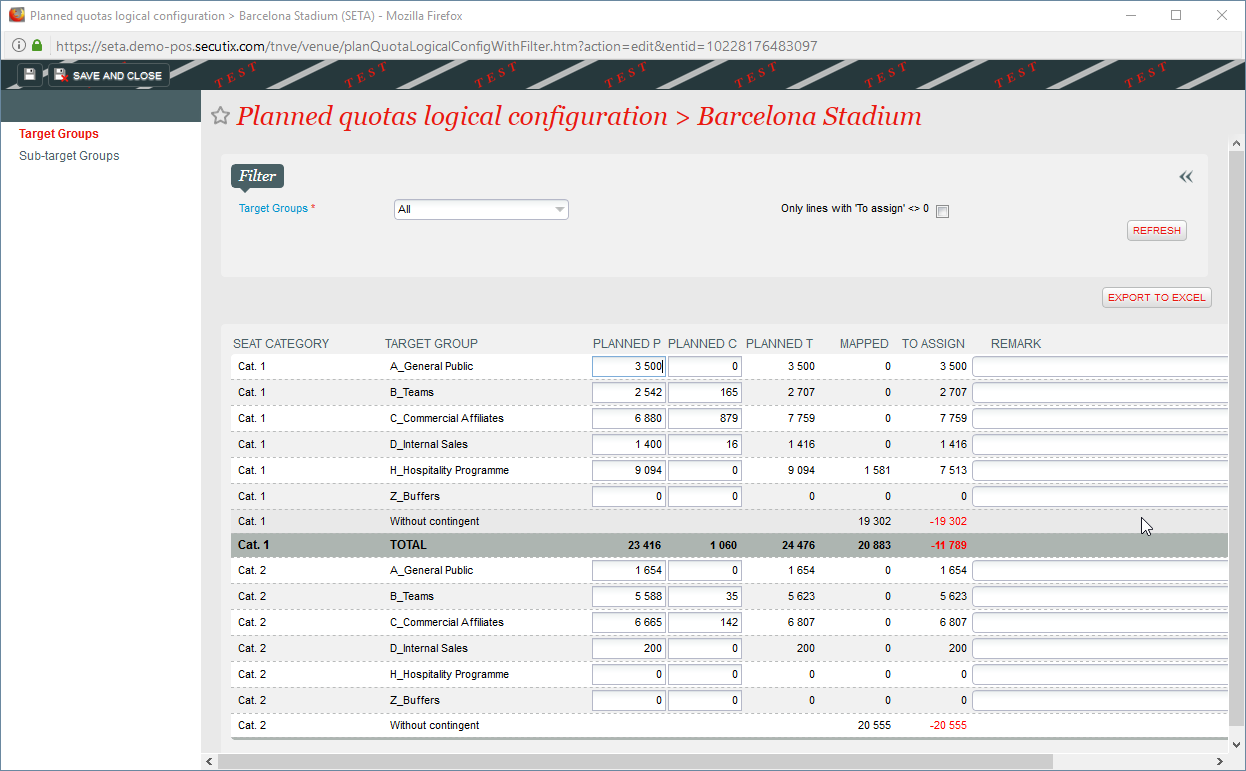
- Target groups: Allows the planned quotas to be defined for each target group and seat category.
- Sub-target groups > Pre-seating view: Allows the planned quotas to be defined for each sub-target group and seat category, and consistency checked with target group level.

Once planned quotas have been defined on one logical configuration, they can be copied to another one, also partially, through the “Change Planned quotas” button in the Organisation | Venue | Logical Configurations screen.
...
In the Organisation | Catalogue | Performance / Match screen, using the “Planned quotas” screen, it is possible to see and update the planned quotas for a specific performance / match.
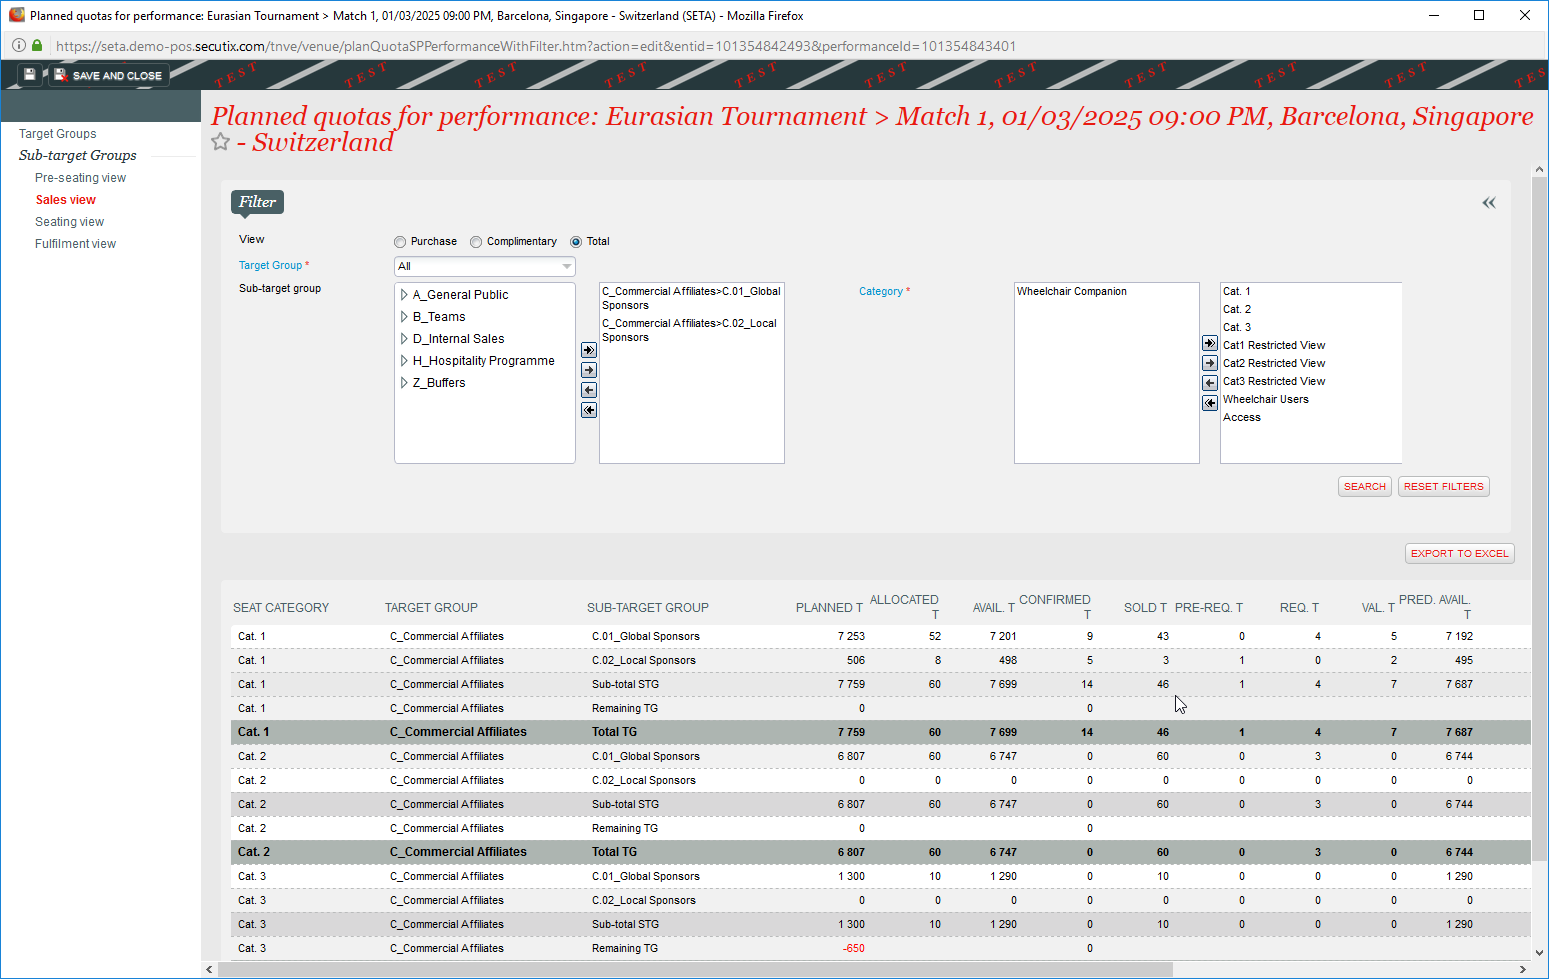
Inside the planned quotas screen, there are various sub-menus:
...
To set this up, a front-office portal should have the appropriate parameter set in the sales channel. To go Institution | Initialisation | Sales Channels, open a front-office sales channels (of type “Internet B2C” or “Internet B2B”), and set the “Default seat selection mode” = “Without seating”, as shown below.
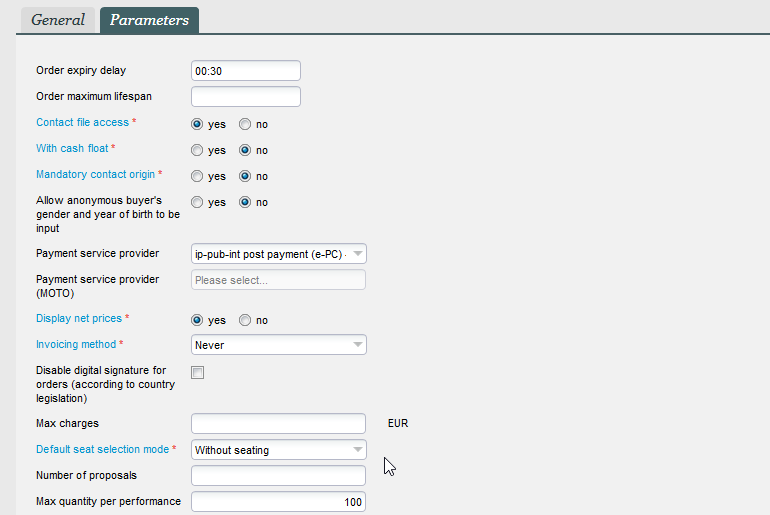
With this setup, customers on the front-office sales portal will be able to choose the number of seats required in each seat category (see below), but will not have any possibility to select areas or blocks, nor see any other information relating to their future seating, until this is decided later in the back-office.
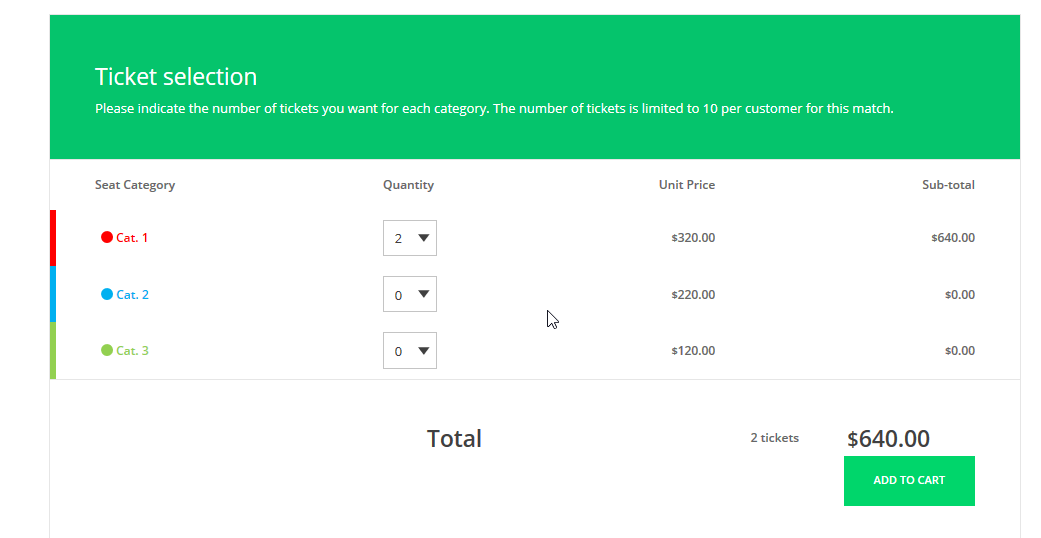
It is possible to operate a resale platform before or after seating has been made. The display on the front-office portal is not controlled by the sales channel set-up, but by the nature of the tickets that are resold:
- If no resold tickets are seated, then the resale purchase process is identical to the standard unseated ticket purchase process, shown above: customers just select numbers of tickets from a big pool
- If all resold tickets are seated, the resale purchase process shows a seat map, and customers select groups of seats on a map.
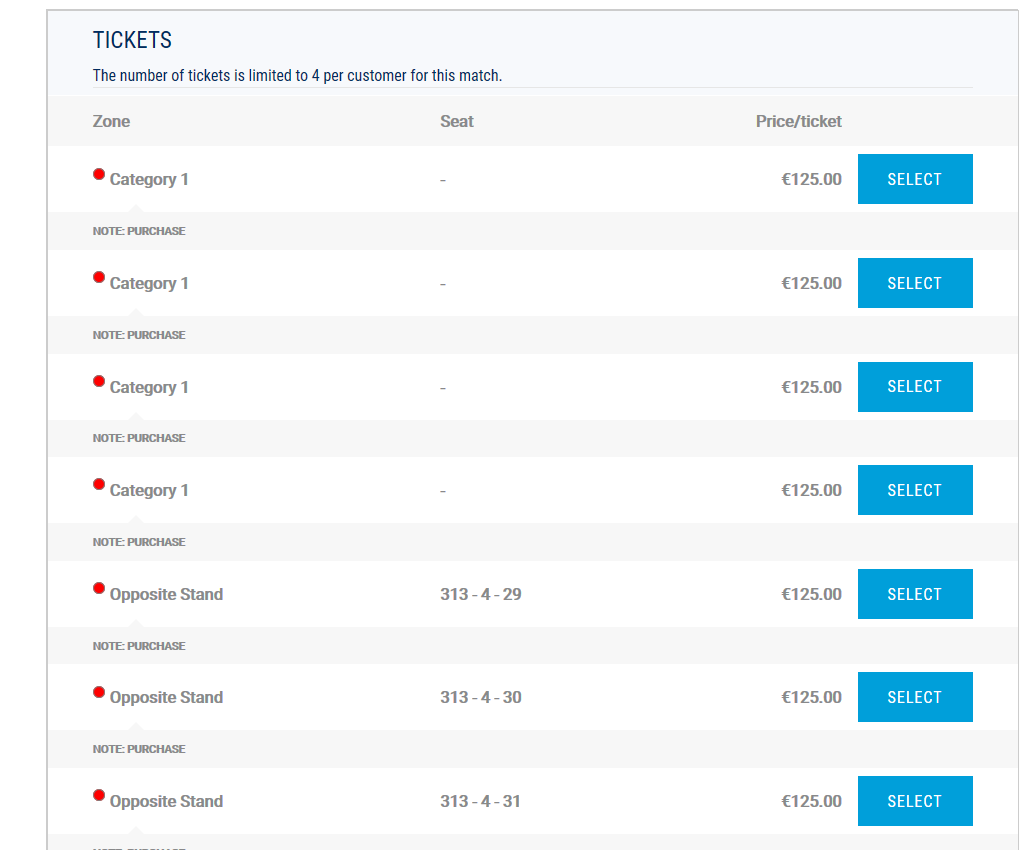
- If some tickets are seated and others not, the resale platform is still functional, but the display might be confusing for customers, and this is not recommended. The display is shown below:
In the back-office, reservations and sales can be made with or without seating, independently of any setup parameters. It is not possible to prevent operators from making seated or unseated sales.
To make an unseated sale in the back-office, once the relevant performance / match, seat category, sub-target group (contingent) and tariff have been selected in the temporary cart, the “without seating” option, shown below, should be selected.
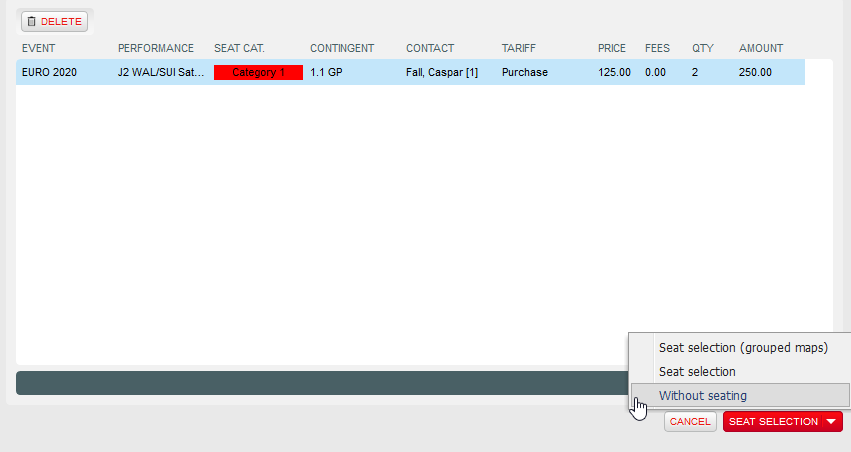
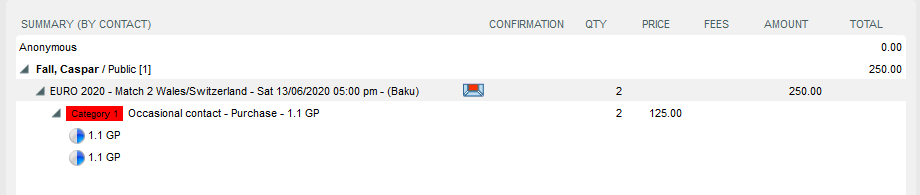
Tickets are then placed immediately in the cart, without any seat details:
A shipment mode and a payment method are then selected, as usual, to complete the sale. All usual rules about acceptable shipment methods apply. All payment methods can be used.
...
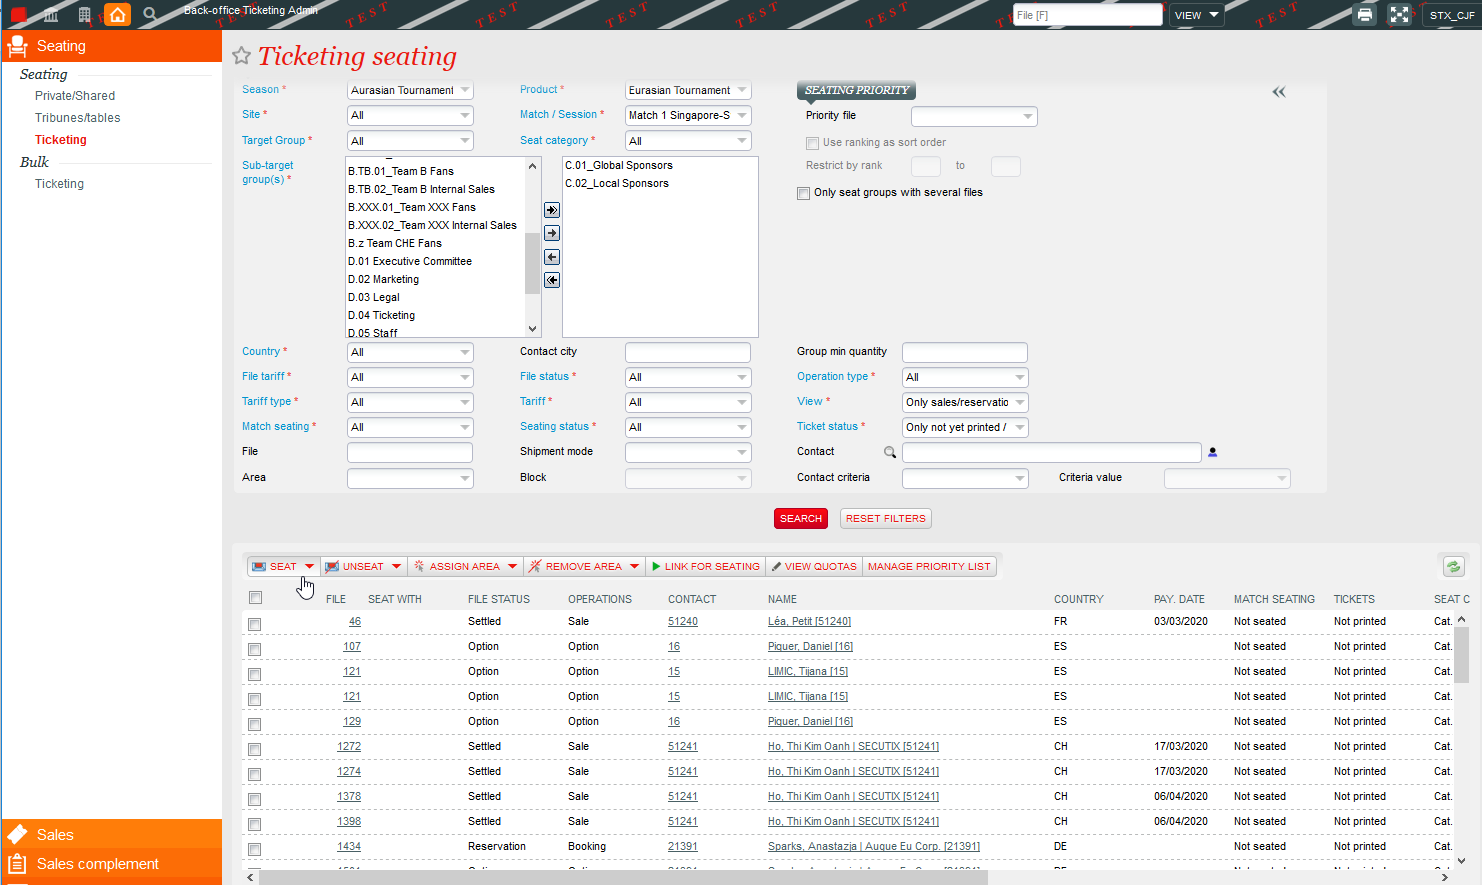
The seating process is always performed for a single performance / match at a time, and consists of:
- Selecting a performance / match and a set of operations to seat, through various search filters (file status, category, target-group, sub-target group, tariff, contact, country of buyer, etc…)
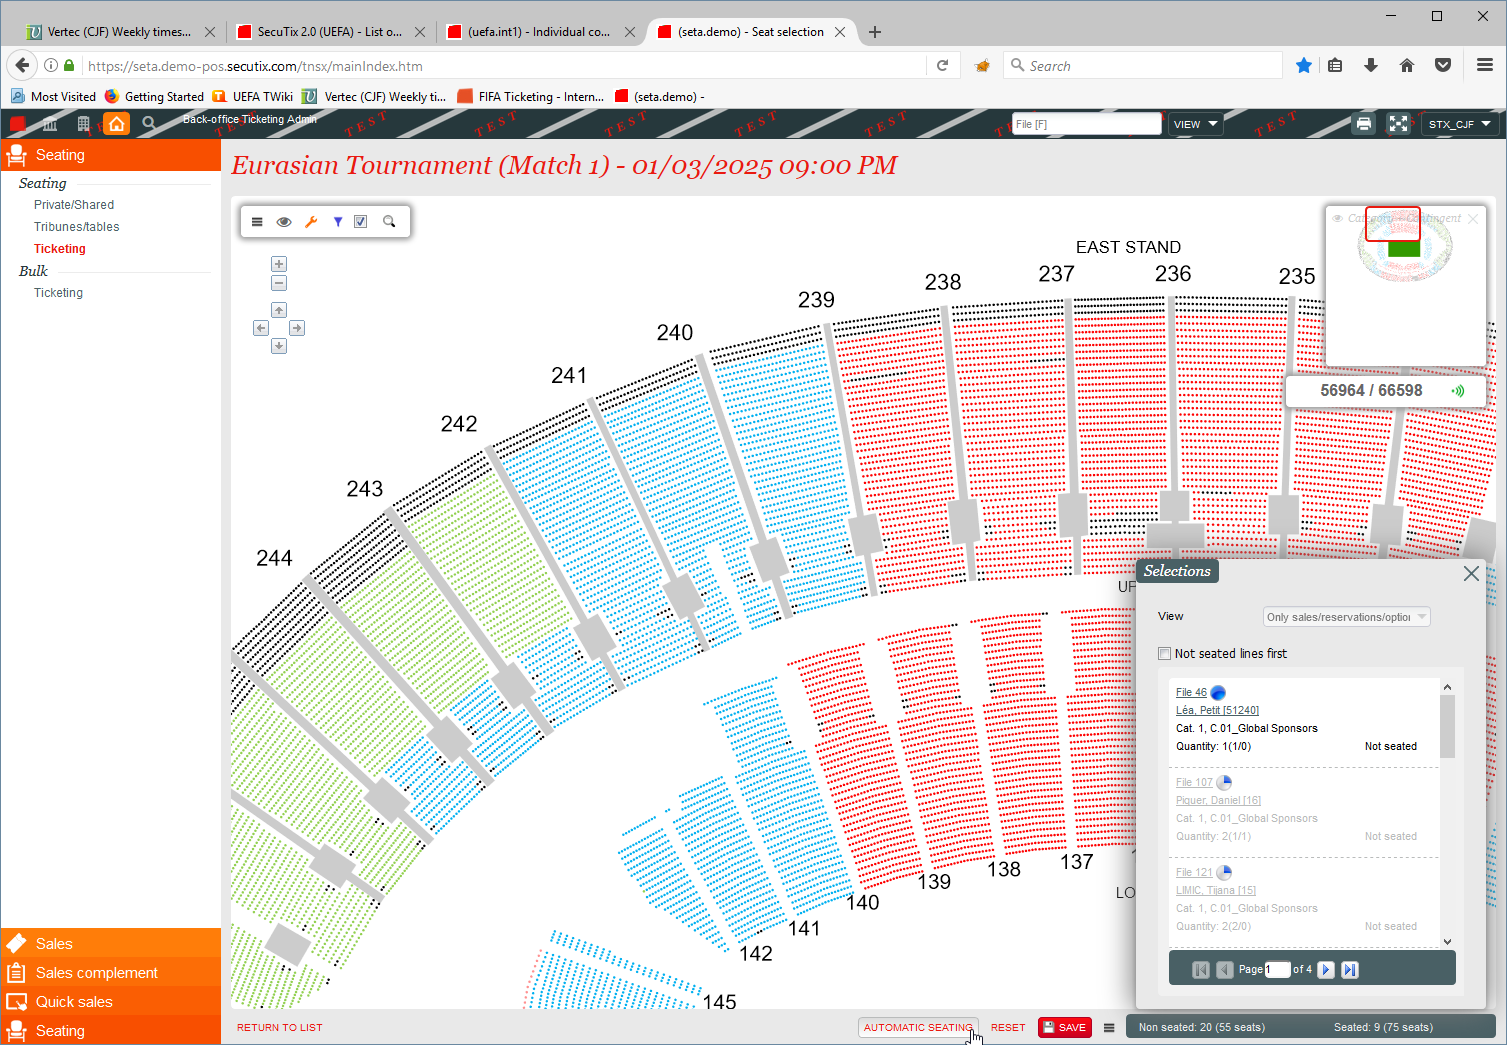
- Manually choosing the seats on the seat map for the selected files, or asking the system to perform automated seating on them, using the standard seating algorithm. The system is designed to allow thousands of tickets to be seated automatically simultaneously, in a single step.
The same process applies to seating in configurations without a seat map. In this case, the seating process consists of assigning areas to files.
...
To ensure such a restriction, there is a parameter that must be set (by SecuTix only) in the institution parameters, shown below:

This configuration will ensure that only PRINTED ticket are exported to the access control system. Once a ticket is printed, its seating details cannot be changed, so it is safe to send it to the access control provider.
...