...
Architecture and State Machine Diagram


Configuration
The new TVM software is simply a web application that can communicate with local hardware like payment terminal & ticket and receipt printers. The following steps demonstrate how to configure a new TVM in SecuTix's parameterization screens.
...
- Go to tab Organization > Initialization > Organization parameters > Sales Channels & double click on the TVM sales channel you created in step Sales channel configuration
- Go to the "Point of sales" tab and click "+ New" to add a new point of sales
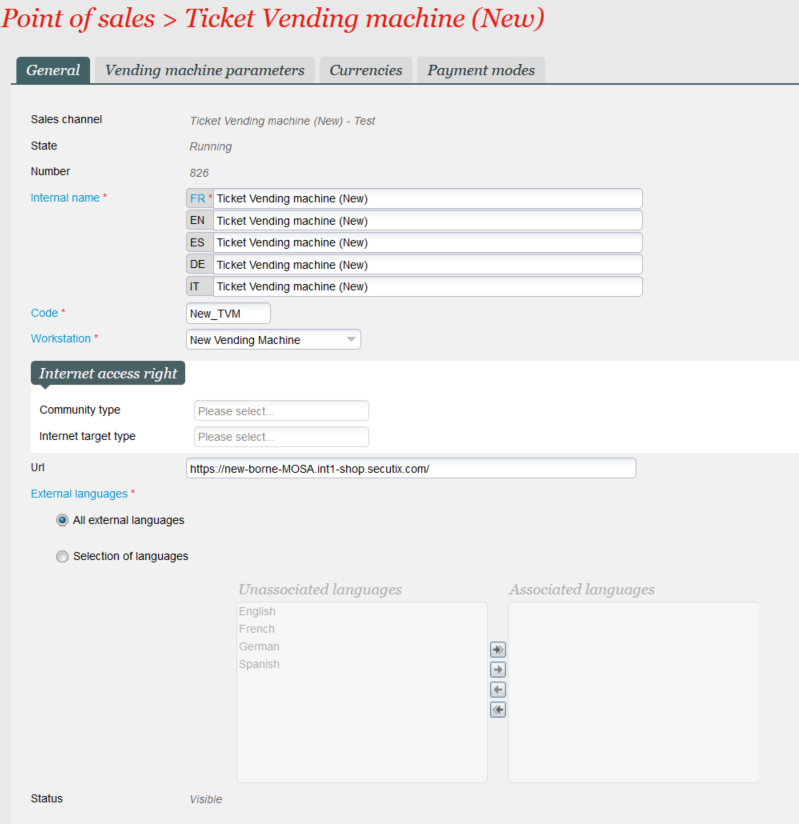
- Fill in the mandatory fields in the "General" tab and make sure to:
- select the corresponding workstation configured in step Workstation configuration in the Workstation dropdown.
put a unique url for each vending machine:
Note The recommended url pattern is: https://INSTITUTION_CODE-TVM_Name-INSTITUTION_CODE.ENVIRONMENT_NAME-shop.secutix.com/
e.g. https https://mosa-tvm1-mosa.int1-shop.secutix.com/, https https://mosa-tvm2-mosa.int1-shop.secutix.com/ ...
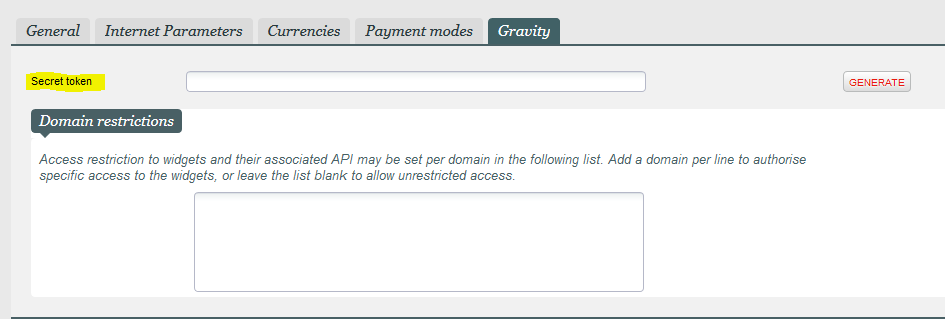
Go to the "Vending machine parameters" tab and Click "GENERATE" button to generate a secret token.
Note This secret token is used for authentication when TVM is communicating with SecuTix's REST api.
OPTIONAL - To enable Google Analytics Tracking you can also put the value of your GA Tracking ID or GTM Container ID into the corresponding field. For detailed instructions on how to enable GA or GTM tracking, please visit this page.
- Configure the "Currencies" and "Payment modes" tabs based on your needs
- Click "SAVE" to save the changes
...
Download and install Device Manager
Go to this page to download the device manager installer
- Find the .exe file you just downloaded and double click on it
- Install the kit with default settings
...
- Install the latest version of Chrome from Chrome's official website.
- Create a new Chrome profile and check "create shortcut on Desktop"
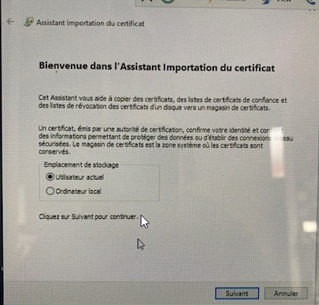
- Go to Chrome Settings and install SecuTix Root Certificate (you can download the certificate from this page : here)
- Extract the zip file you downloaded
- Import the file "SecutixRootCA256.crt" to Chrome "Trusted Root Certification Authorities" via Chrome Settings.
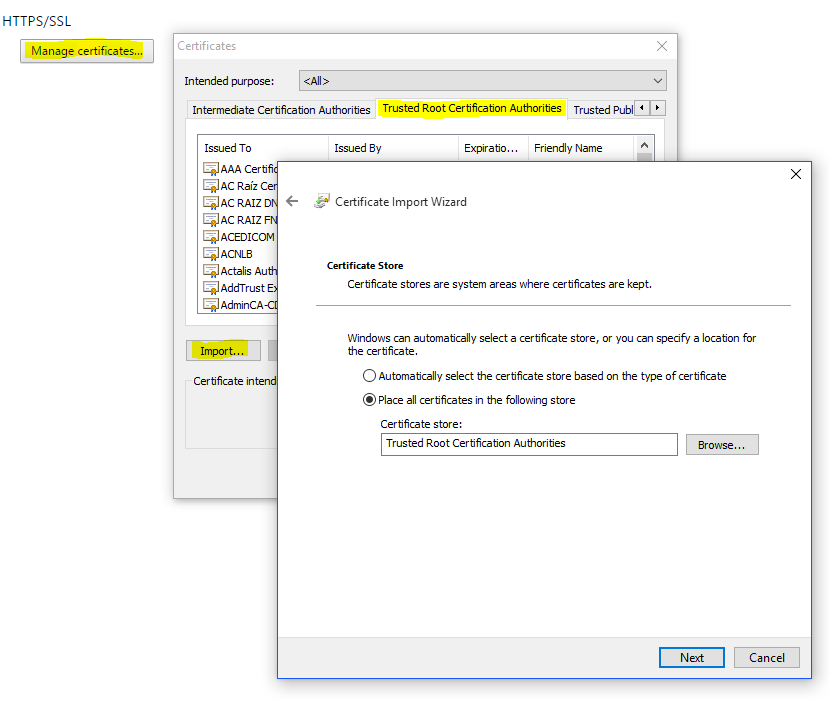
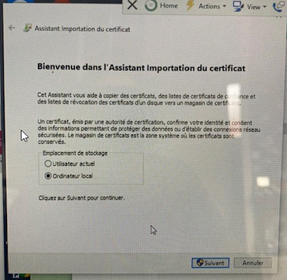
- You might have to install it locally first, then for the current user.
- Change the "On startup" option to "Open a specific page or set of pages"
- Click on the "Set page" and put in the TVM PoS url that you configured in the previous section "Point of sales configuration"
- Close the Settings menu and go to the page with the TVM PoS url (e.g. https://tvm1-mosa.int1-shop.secutix.com/)
- Right click on the page and click on "Inspect" to open the web inspector
- Go to "Application" tab and input the following <Key, Value> pair into the TVM Web Host's Local Storage:
Key: secutixApiSecretKey
Value: use the secret token that is configured in "Point of sales configuration"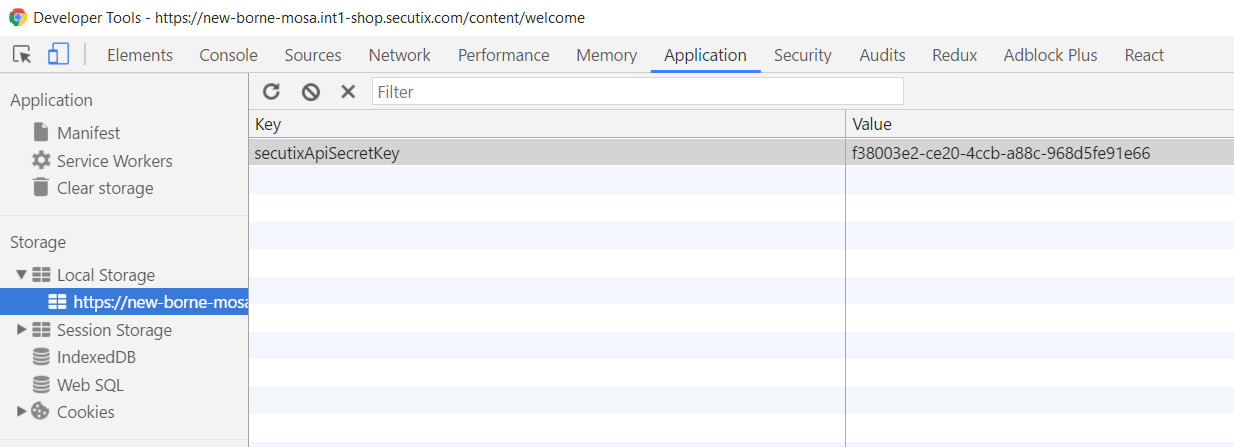
- Close Chrome
- Find the Chrome shortcut created at step 2 on desktop & Right click -> Properties
- In the Shortcut > Target field append "this at the end and Save & Close the properties popup : --kiosk --disable-pinch --overscroll-history-navigation=0 --remote-debugging-port=9222 --restore-last-session <TVM PoS url that you configured in the previous section>" at the end and Save & Close the properties popupTVM_PoS_url_that_you configured_in_the_previous_section
- Double click the shortcut to start the TVM
- go to the page “pointofsalesurl/content/admin” and check the status. If ticket printer is KO, click on Set ticket counter and input a value. Status should now be ok. Press restart.
- The new TVM is now running in the Kiosk mode on Chrome!
Set up chrome profile
On the windows button in the task bar right click, then “ run”, on the opening pop-up write “shell:startup”, then “ok”
- This command open the startup folder for the kiok user , (C:\Users\....\AppData\Roaming\Microsoft\Windows\Start Menu\Programs\Startup), paste the Chrome link inside
Close the tvm‘s screen, right click on the chrome tvm shorcut copy, the, paste it in the start menu you just opened. Close it
Go to parameters > Accounts > Login options (Sign-in options) > Privacy > deactivate “use my login details”.
Optional - Automatic Switch off
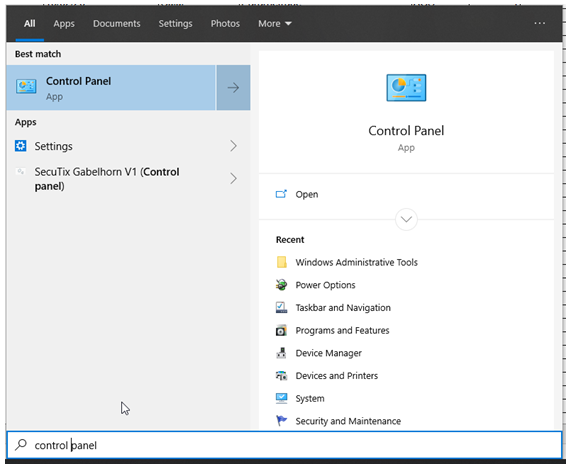
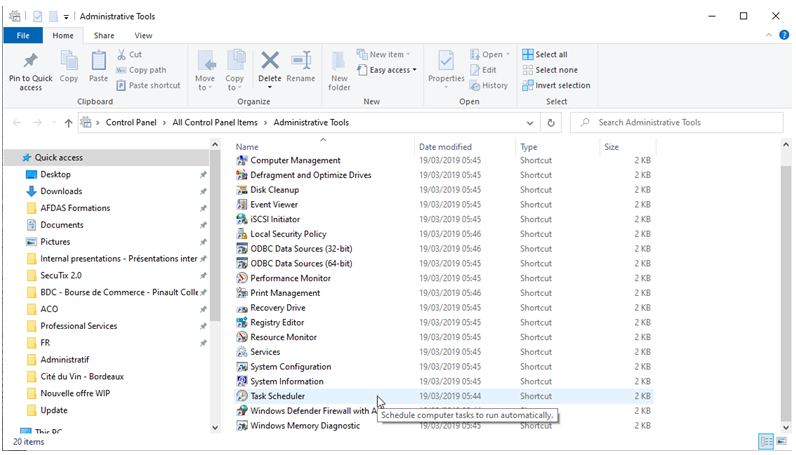
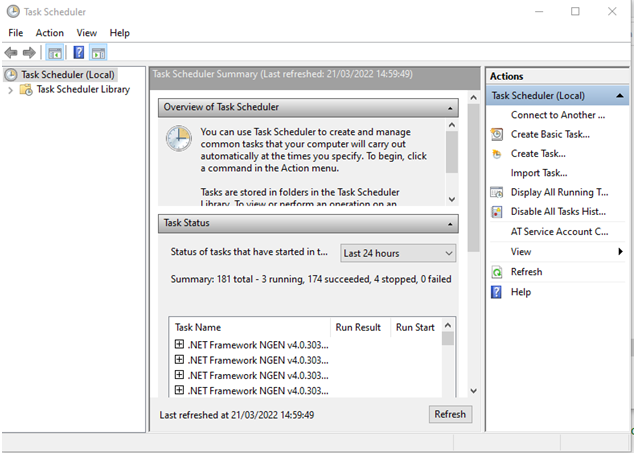
Go to Control Panel > Administrative Tools > Task Scheduler
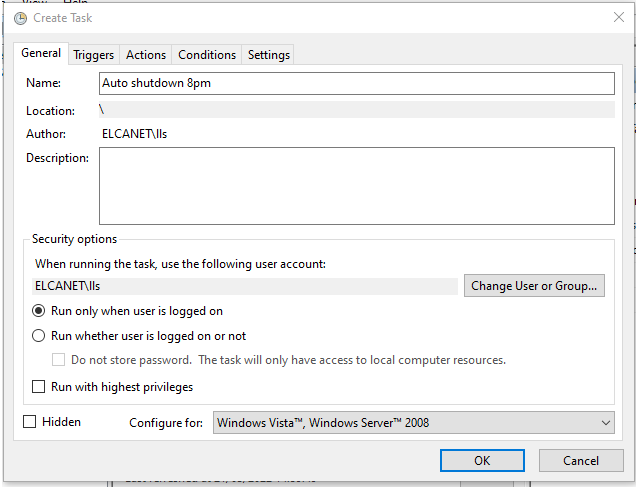
2. Create task on the right menu and name it
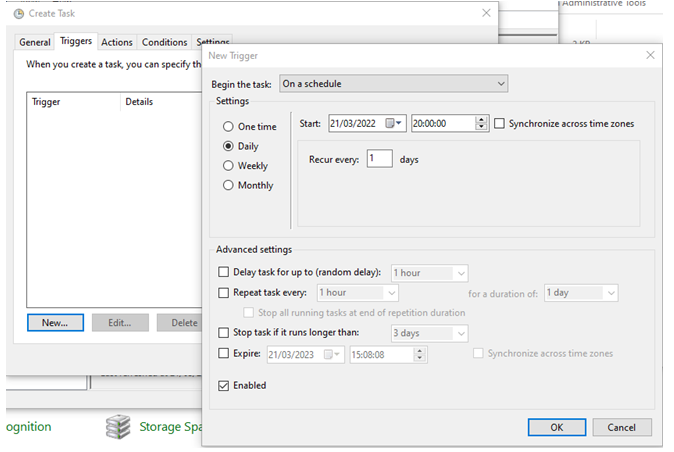
3. Go to triggers, schedule your task, here daily 8 pm from today.
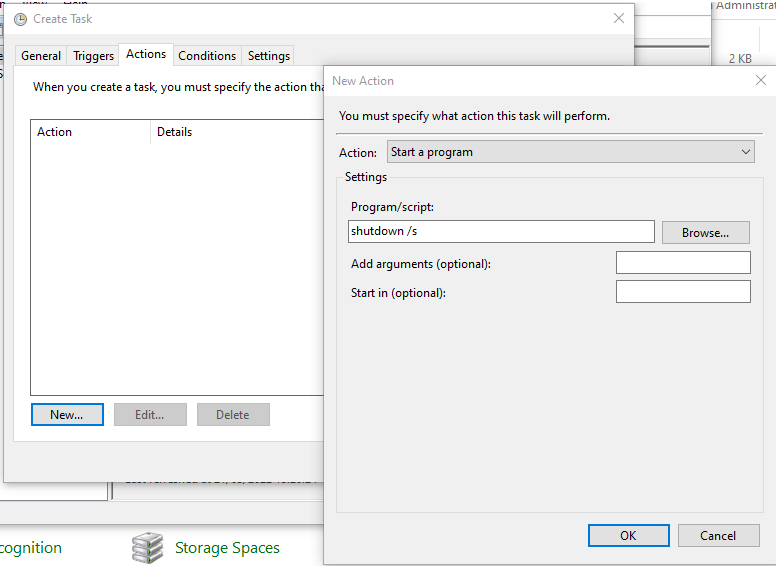
Actions > Start a program
Shutdown /s = automatic switch off (like BDC)
Shutdown /r = automatic reboot (like ONP)
4. Check your scheduled task in task library
TroubleShooting the TVM
- TVM is not starting on expected page: check point 4/5 and 11. Note that there may be a .bat file that automatically start the TVM. It should be fixed, too.
- The device drivers does not start (no red icon in the tray bar):
- if the device drivers is started by the .bat file, ensure that
- the path located in the file is correct
- the path must be within quotation mark, like "C:\Program Files(x86)\..." . Otherwise, the space will confuse Windows.
- Disk full:
- stop the device drivers (there is a stop script in C:\Program Files (x86)\secutix\devicedrivers-manager)
- delete the java folder C:\users\<user>\secutix\
java - java (or other directories that consume space on the drive, could be related to C:\Windows\Logs\CBS in case of frequent reboots)
- reboot
- Accept the startup of the device drivers (select the "remember" option)
- Wait until device driver is started
...
| hidden | true |
|---|
...
- Tickets are not printed
- COMM_0040 errors in the device manager logs : Check that the flag "enable bidirectional support" is checked on the printer configuration
