This page is underconstruction
Printer
BOCA (ticket printer)
What are the components needed ?
USB cable
| Power supply cable (CH cable) 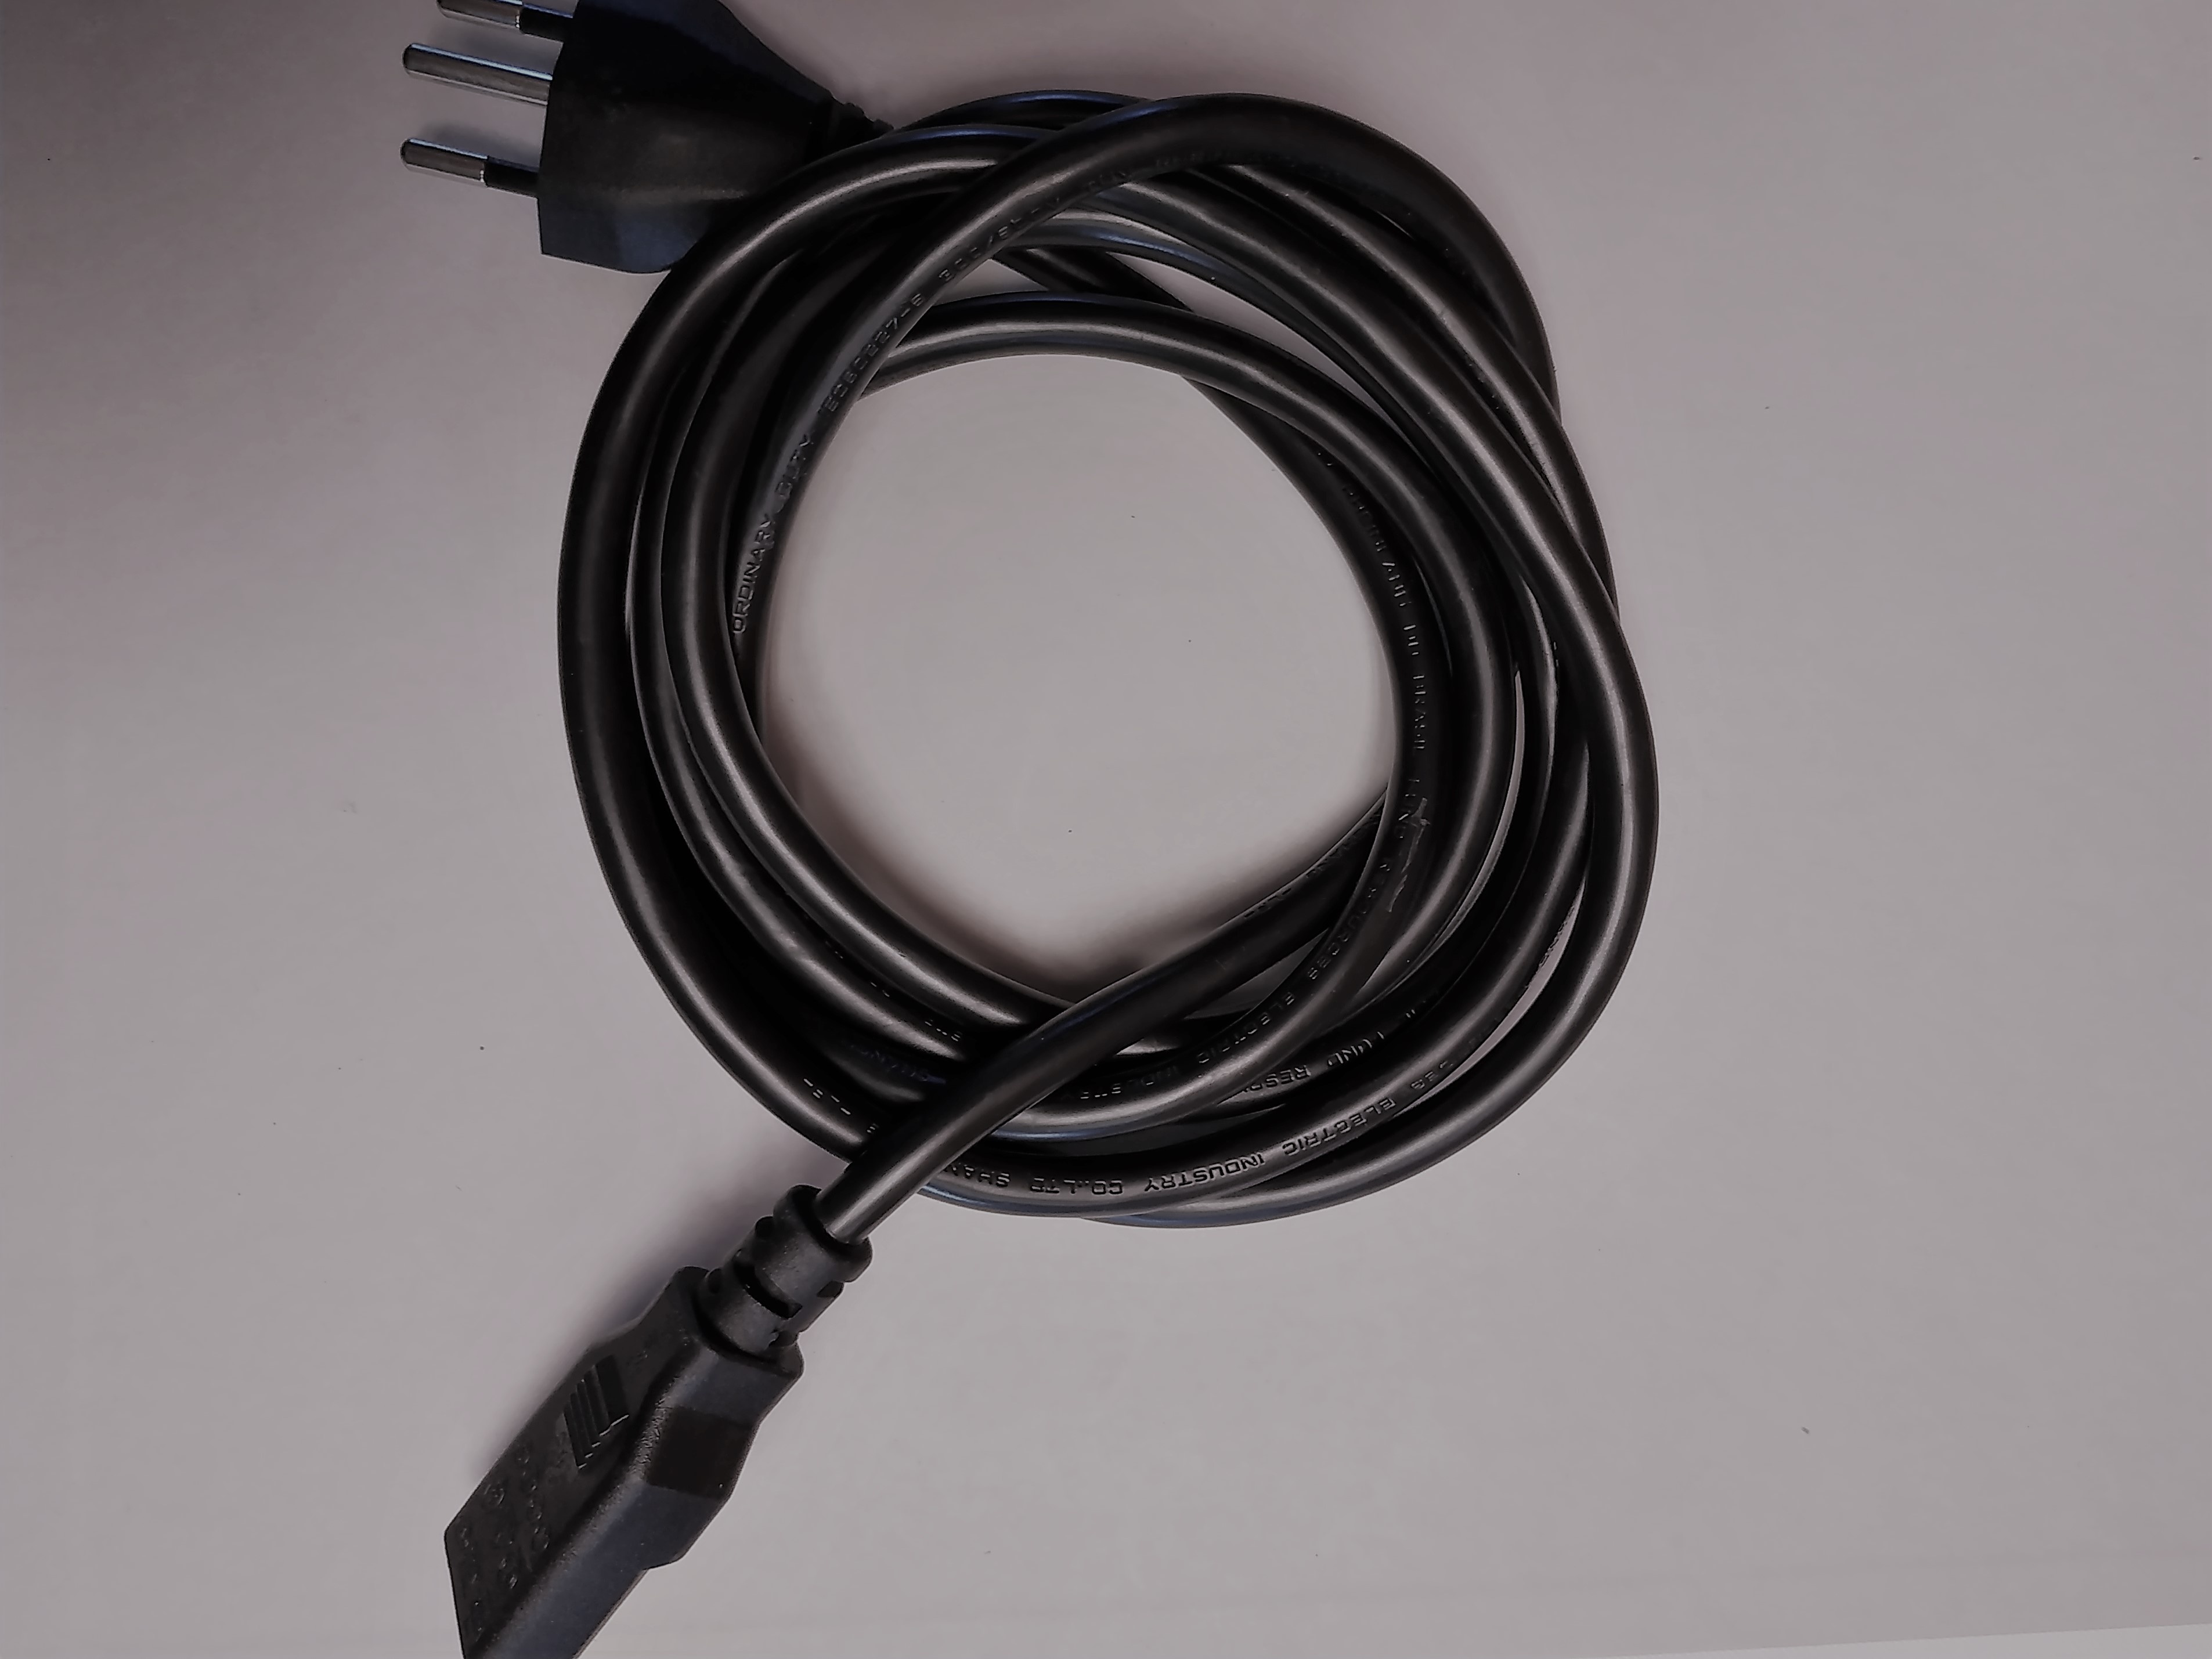 | USB Hub with power supply (important with a power supply)  |
|---|

How to plug ?
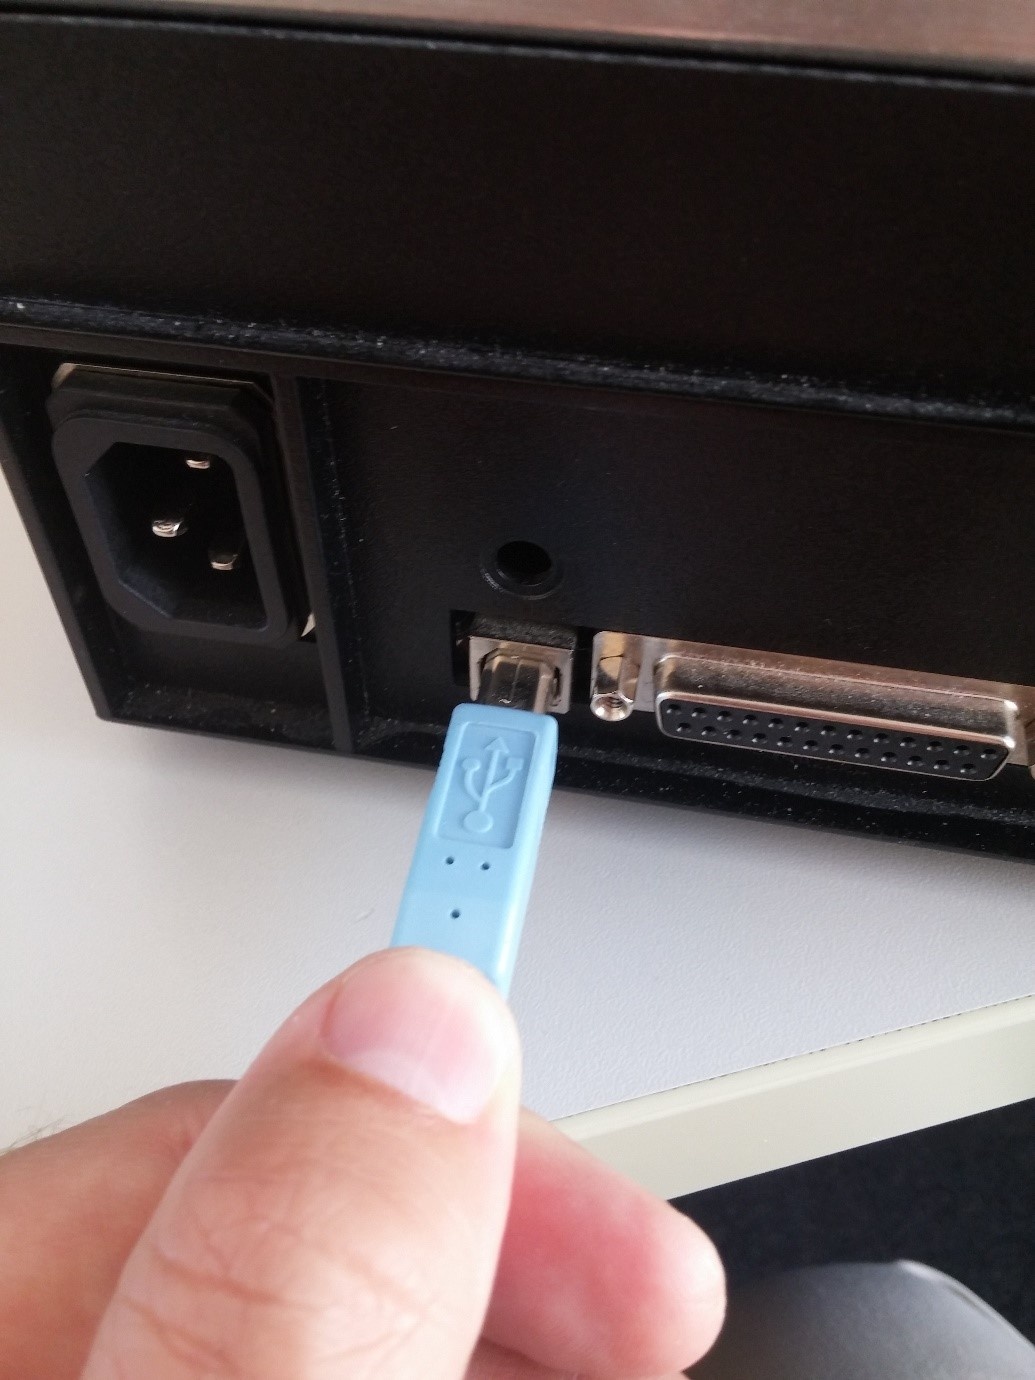
1) USB Cable
Plug USB cable to HUB USB
| Plug the other end of this cable to the BOCA
|
|---|

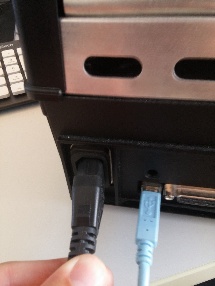
2) Power supply cable
Plug the power supply  | Plug the power supply cable to the BOCA |
|---|

|
|---|
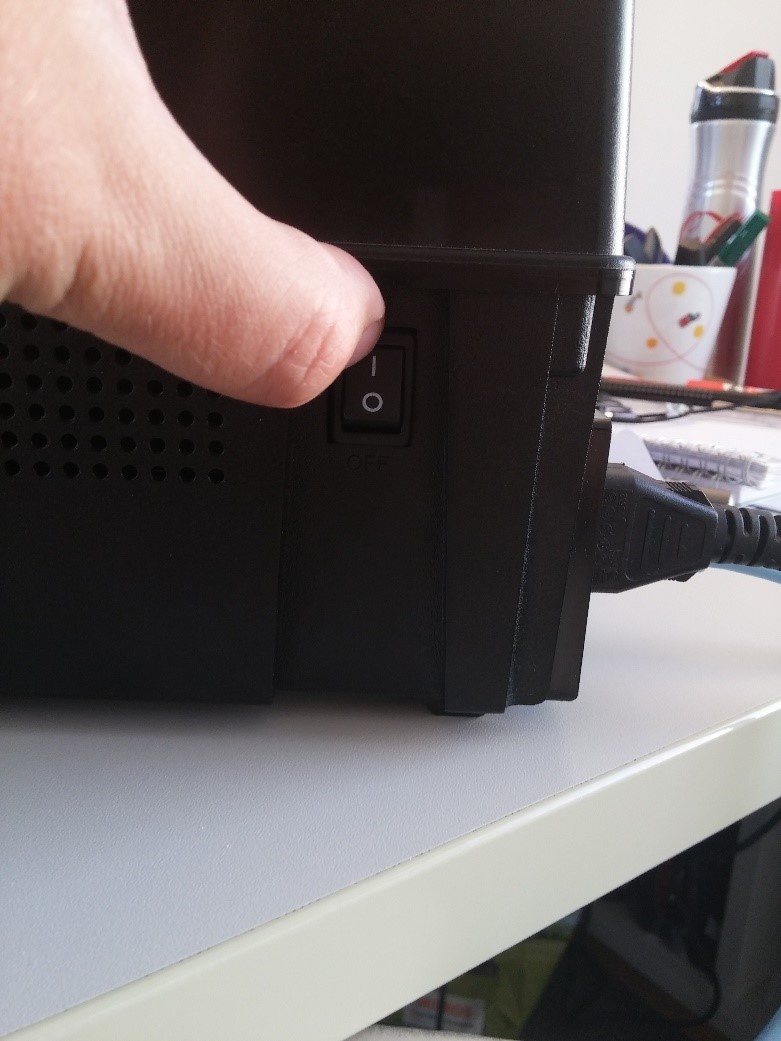
Switch on the button power
3) Paper insertion

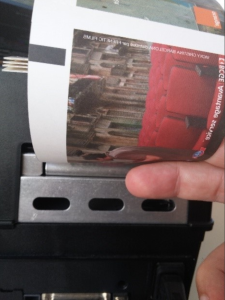
You can insert the paper, the black mark should be at the bottom on the right when facing the printer (on the left from behind on the picture)
When it is ok, the printer would move forward on the length of a ticket, and go back.
This operation uses to measure the size of the note, if the paper continues to advance the black mark has not detected, and the paper may be in the wrong direction.
How to configure on the device ?
1) Configure In Windows (Windows 10)
When you have connected the printer, this one is automatically find by Windows Your printer is ready
| Open the configuration printers, enter "printers"
|
|---|


If the printer is not automatically installed by windows, you may need to install the drivers manually. Download them from this link and check Boca's installation manual.
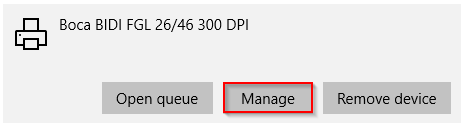
Open the configuration printers, enter "printers" 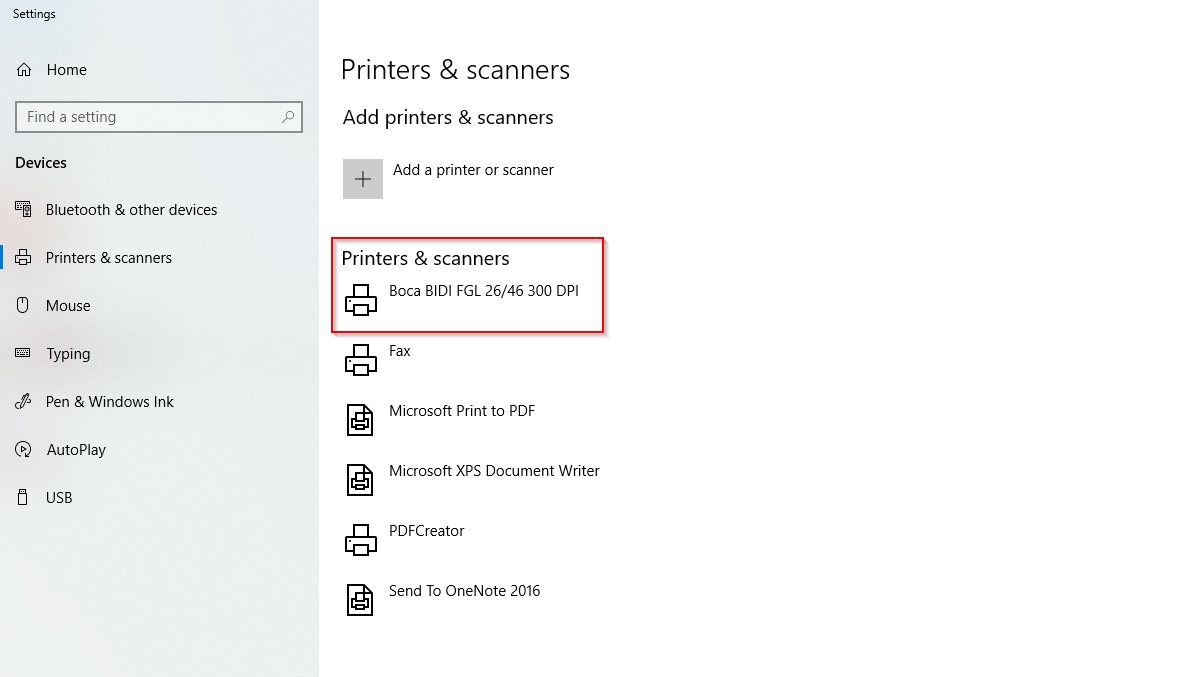 | Click on the printer and Manage
|
|---|
Identify your printer (If the name contents BIDI, you have the new version of the drivers)
If this case we should follow the futur steps
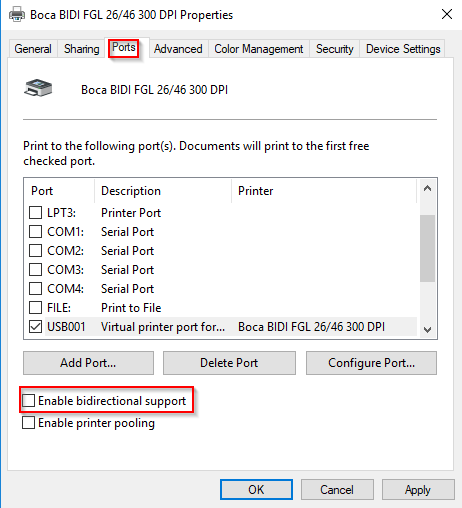
Click on printer properties
| Click on "Ports" and uncheck "Enable bidirectional support" This step is very important, if this case is checked it could cause some issues with Secutix
|
|---|

2) Configure in SecuTix
Logon to Secutix
| Click on "Workstations" (Menu Organisation parameters > Initialisation)
|
|---|

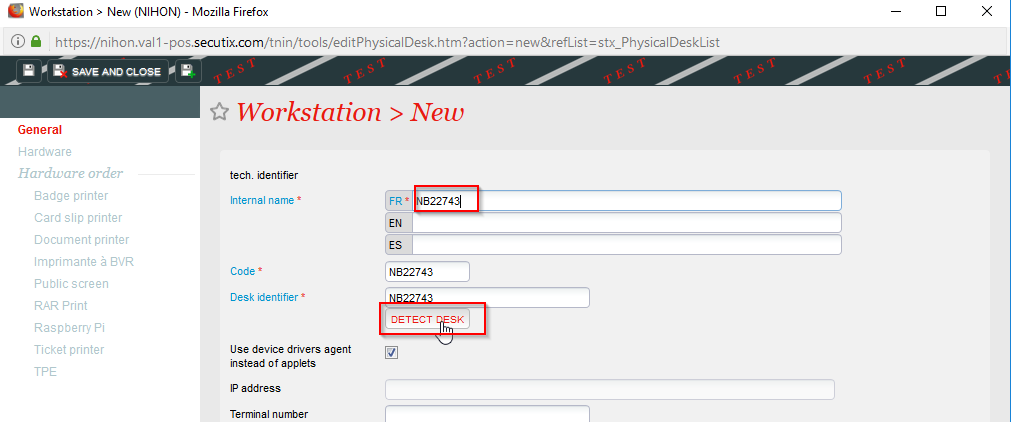
Fill in "Name" and "Code" and click on "DETECT DESK"
| Click on the drive to save the configuration
|
|---|

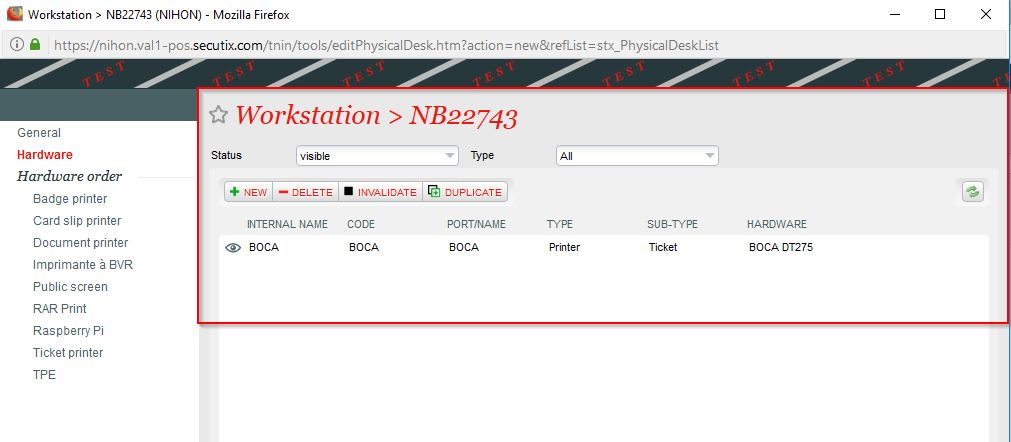
Click on "Hardware"
| Click on "New"
|
|---|


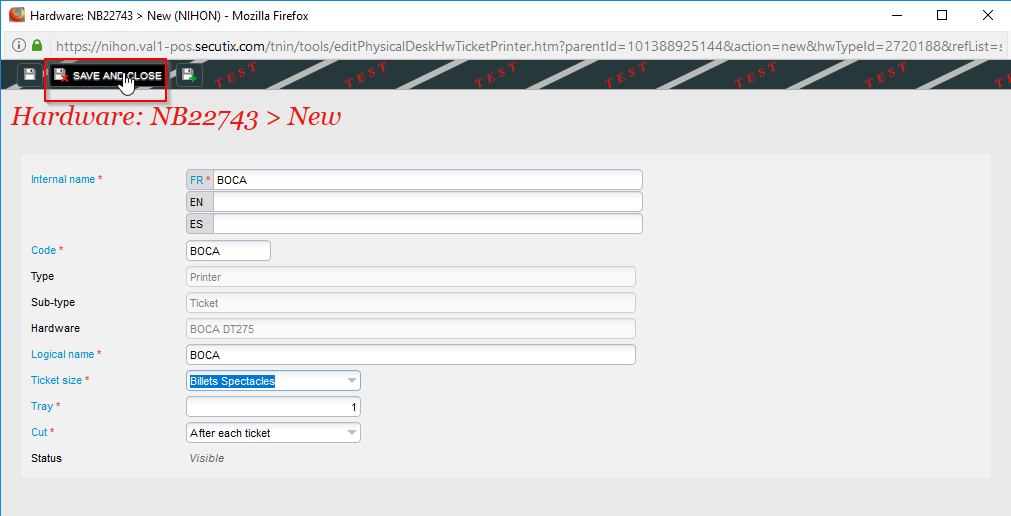
Fill in the fields, and click on "Next"
| Fill in the fields, and click on "Next"
|
|---|


Save and close
| Your printer is now active in Secutix
|
|---|
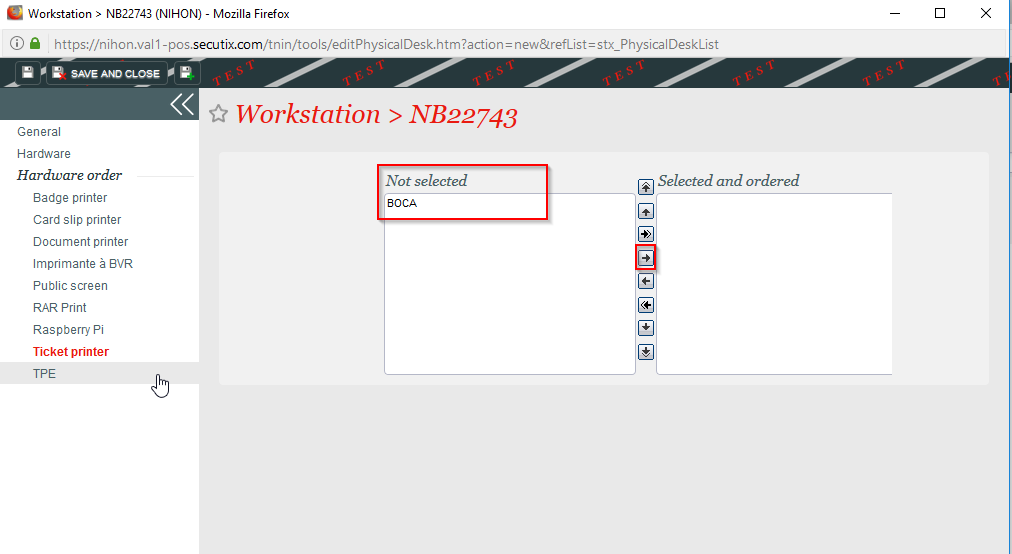
Select the printer
| Move to the right
|
|---|

Tests TO DO
Secutix
Pre-required a box office with a product and a ticket template have configured.
Print a ticket from the box office.