...
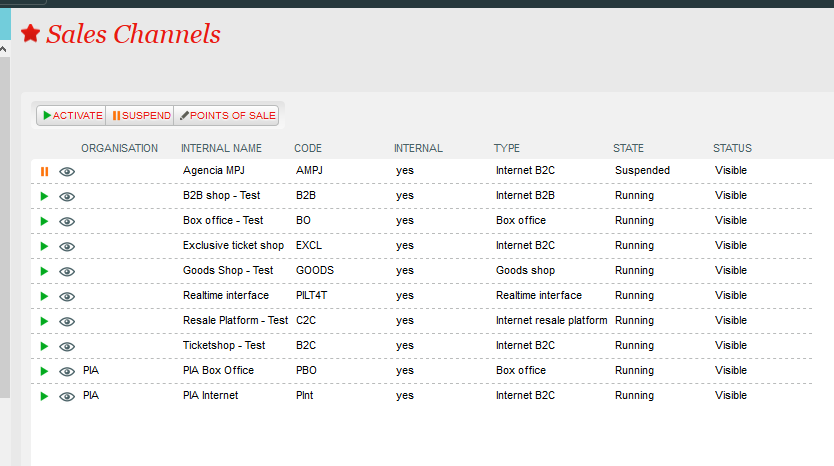
In this screen, you can activate/suspend a sales channel with immediate effect. The main purpose of this screen is to access the Point of Sale configuration which can be reached by selecting the sales channel and clicking on "Points of Sale".
Characteristics => displayed for information. Configuration done at the Institution level
...
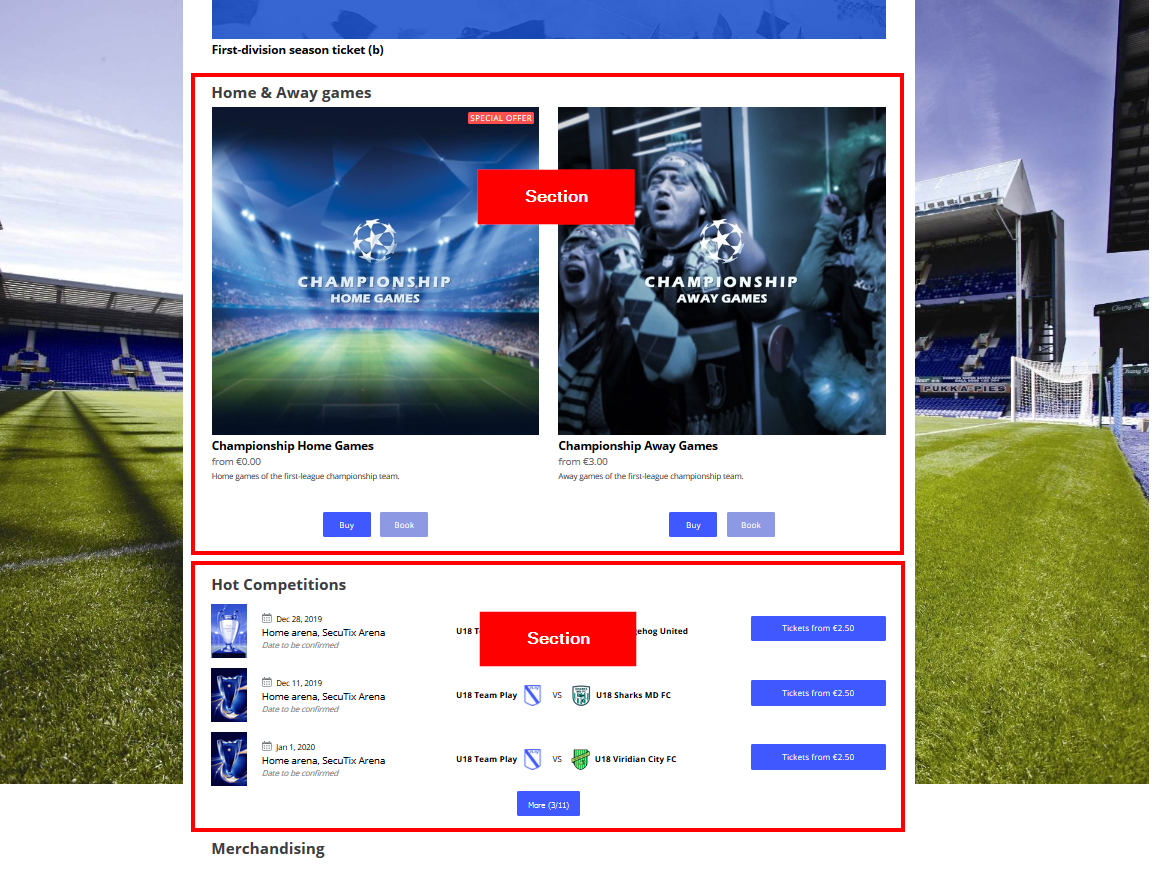
Sections => The section is a part of the landing page. Once created and saved, the section will be visible on the point of sale landing page (URL/content).
Organisation | Initialisation | Sales Channels | Point of Sale |
...
Characteristics Anchor POS POS
| POS | |
| POS |
Tab General
Handle structure relays => if checked, relays will be able to login if the structure they belong to is part of an authorised community type
...
| Info | ||||||||
|---|---|---|---|---|---|---|---|---|
| ||||||||
By default, ticketshops will have a standard syntax *shop.secutix.com with the institution code up front, and the organization code separated with a dash (if it's a multi-organization institution).
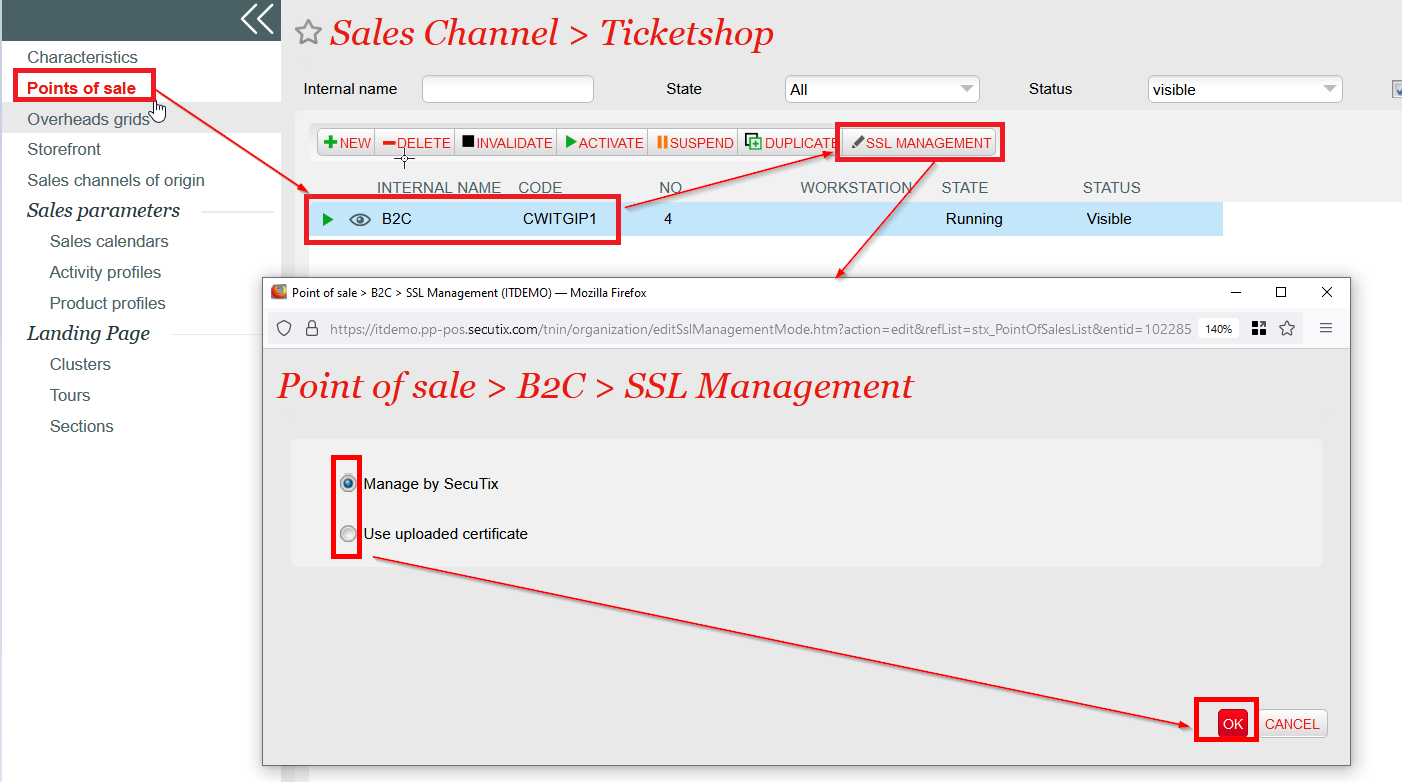
1) Change the DNS of your own domain and create a CNAME record like: tickets.customdomain.com. IN CNAME inst.shop.secutix.com. where the first URL is your subdomain you want to use, and the second the Secutix standard. 2) Check if the edit has been done successfully (you may use some free tool like https://mxtoolbox.com/SuperTool.aspx) and wait 1 hour before proceeding 3) Create the point of sale and input the custom domain in the URL field 4) Select the point of sales and click on "SSL management": choose between the two options and click on OK
STANDARD DOMAIN Just apply the standard syntax following points 3 and 4. In this case the certificate will be managed by Secutix and be ready immediately. |
...